
Home> Create & Decorate > DIY & Crafts
DIY & Crafts
Unleash your creativity with DIY & Crafts, offering a treasure trove of craft projects and DIY ideas for all skill levels, from beginners to seasoned crafters.
By: Harper Martinez • DIY & Crafts
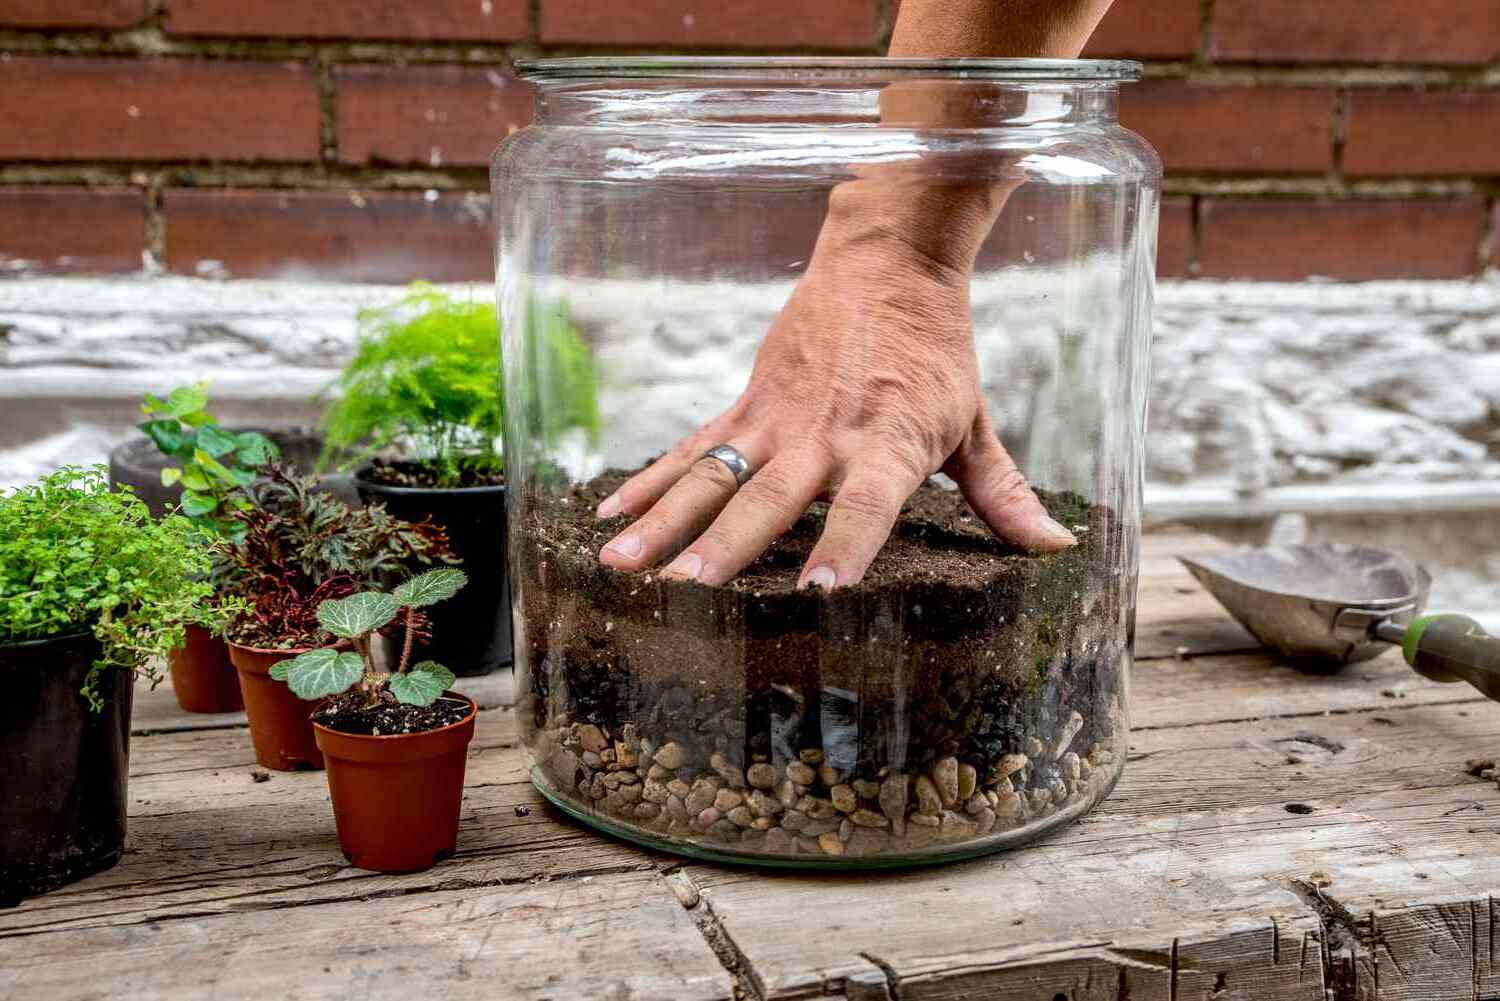
Terrarium DIY: How To Create Your Own Miniature Garden
Introduction Are you looking for a creative way to bring a touch of nature into your home? Creating your own miniature garden in the form of a terrarium might just be the perfect solution. Terrariums are not only visually appealing, but they also require minimal maintenance, making them an ideal...
Read More
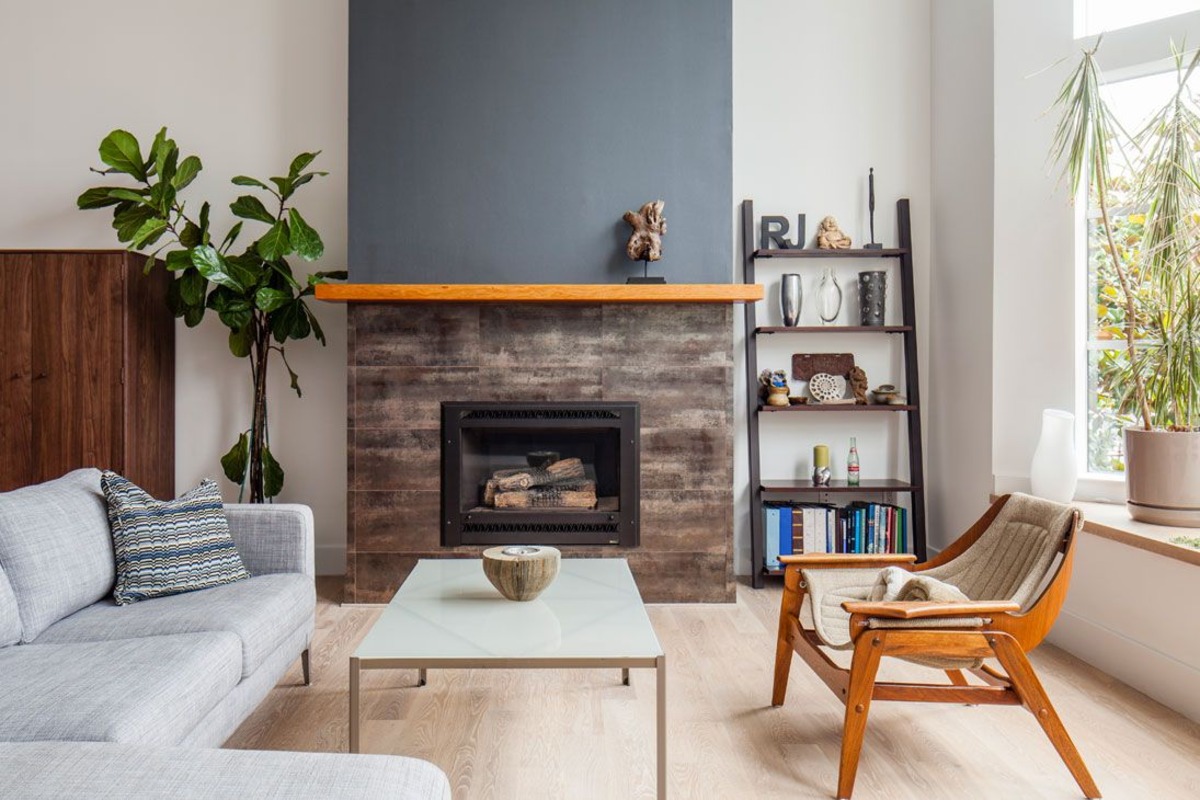
By: Harper Martinez • DIY & Crafts
DIY Fireplace Wall: Transform Your Space With A Stunning Feature
Introduction Are you looking to add a touch of warmth and elegance to your living space? A DIY fireplace wall might just be the perfect project for you. Creating a stunning fireplace wall can completely transform the ambiance of a room, providing a cozy focal point that draws people in...
Read More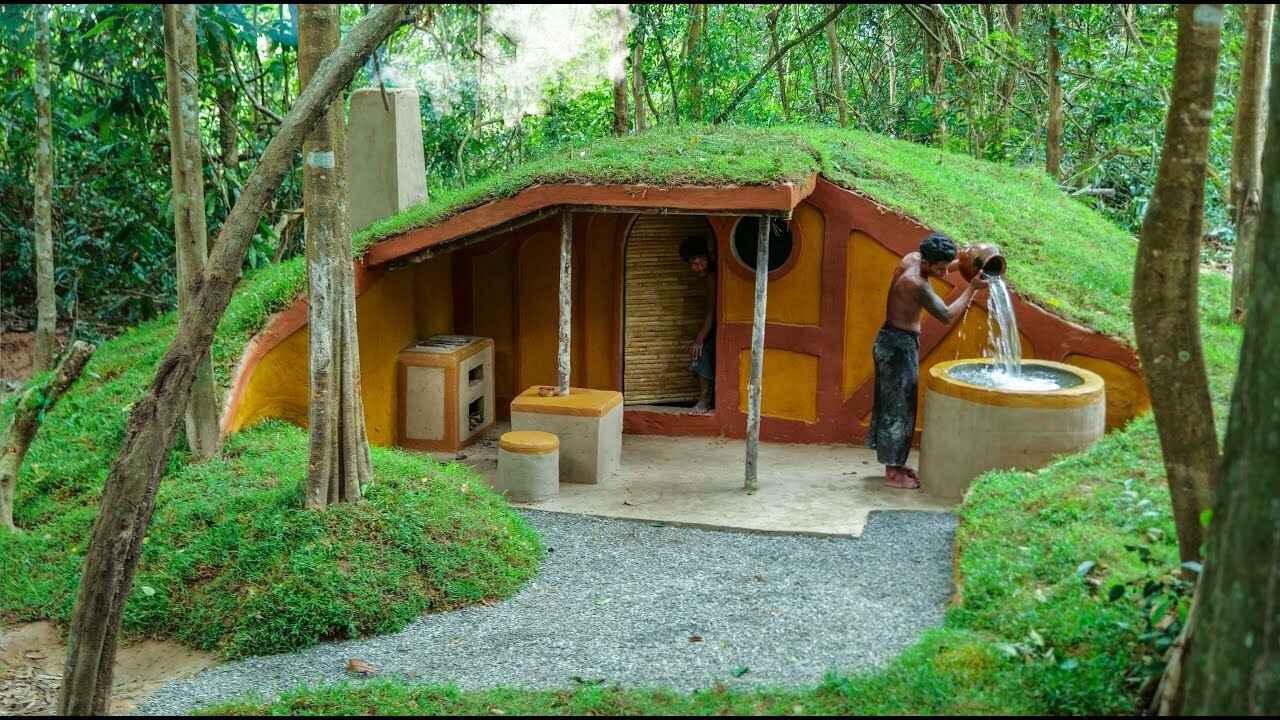
By: Evelyn Wilson • DIY & Crafts
Introduction Have you ever dreamed of escaping to the Shire and living in a cozy hobbit house? Well, with a little bit of creativity and some DIY skills, you can make that dream a reality! In this article, we will guide you through the process of building your very own...
Read More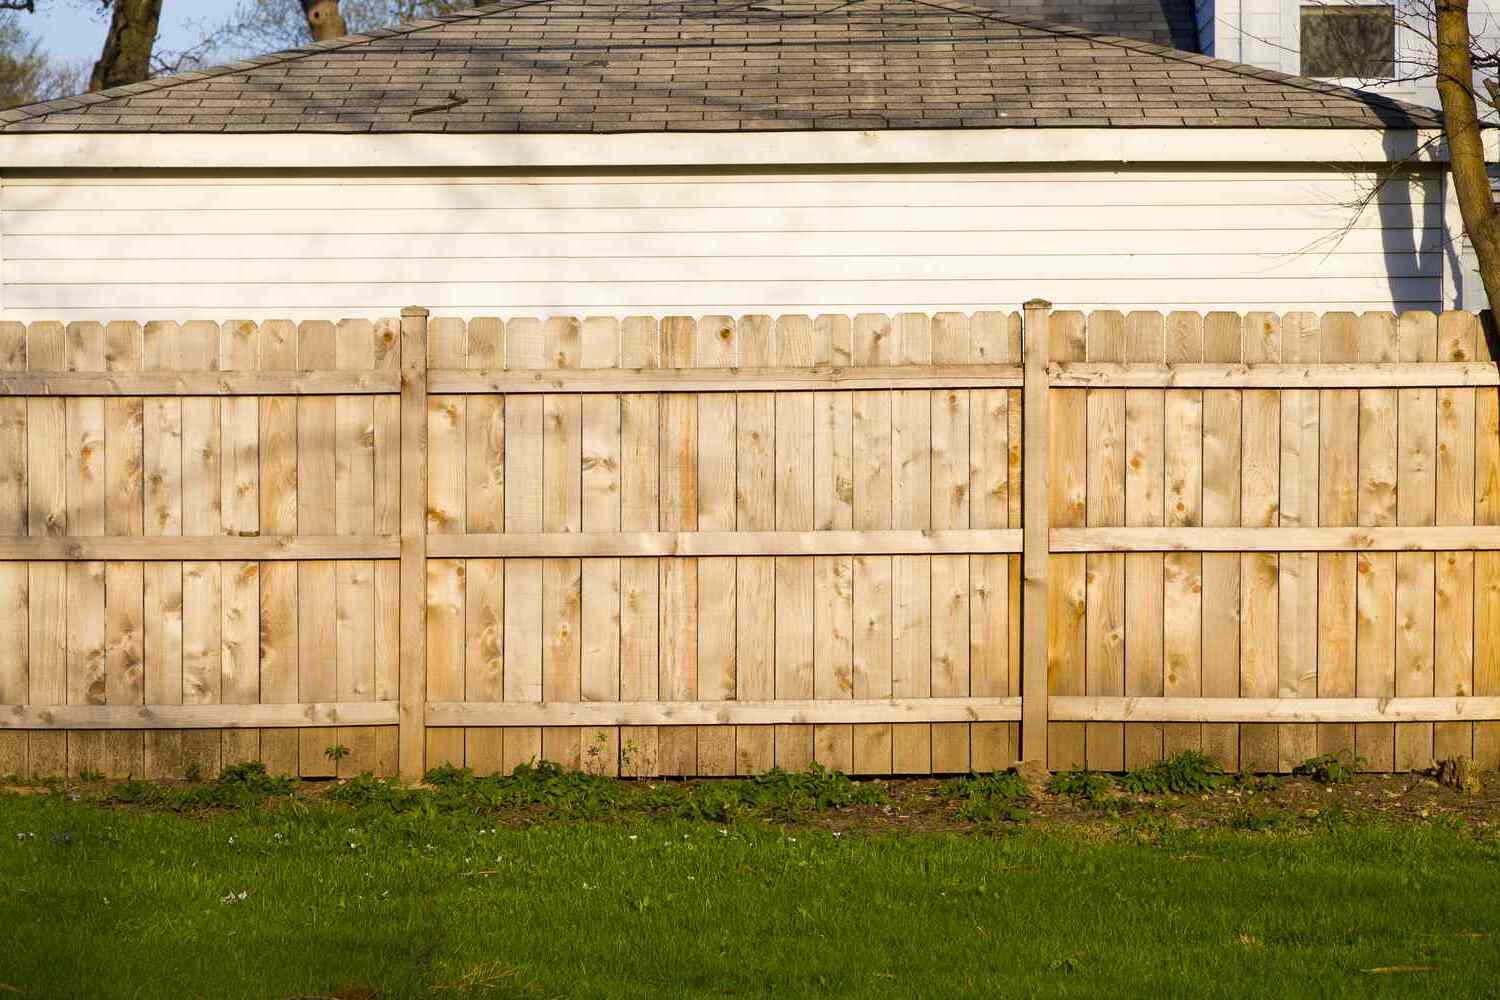
By: Evelyn Wilson • DIY & Crafts
How To Build A 6 Foot Privacy Fence
Introduction So, you've decided to take on the challenge of building a 6-foot privacy fence. Congratulations! A privacy fence not only adds security and seclusion to your property but also enhances its aesthetic appeal. Whether you're looking to keep nosy neighbors at bay or create a safe space for your...
Read More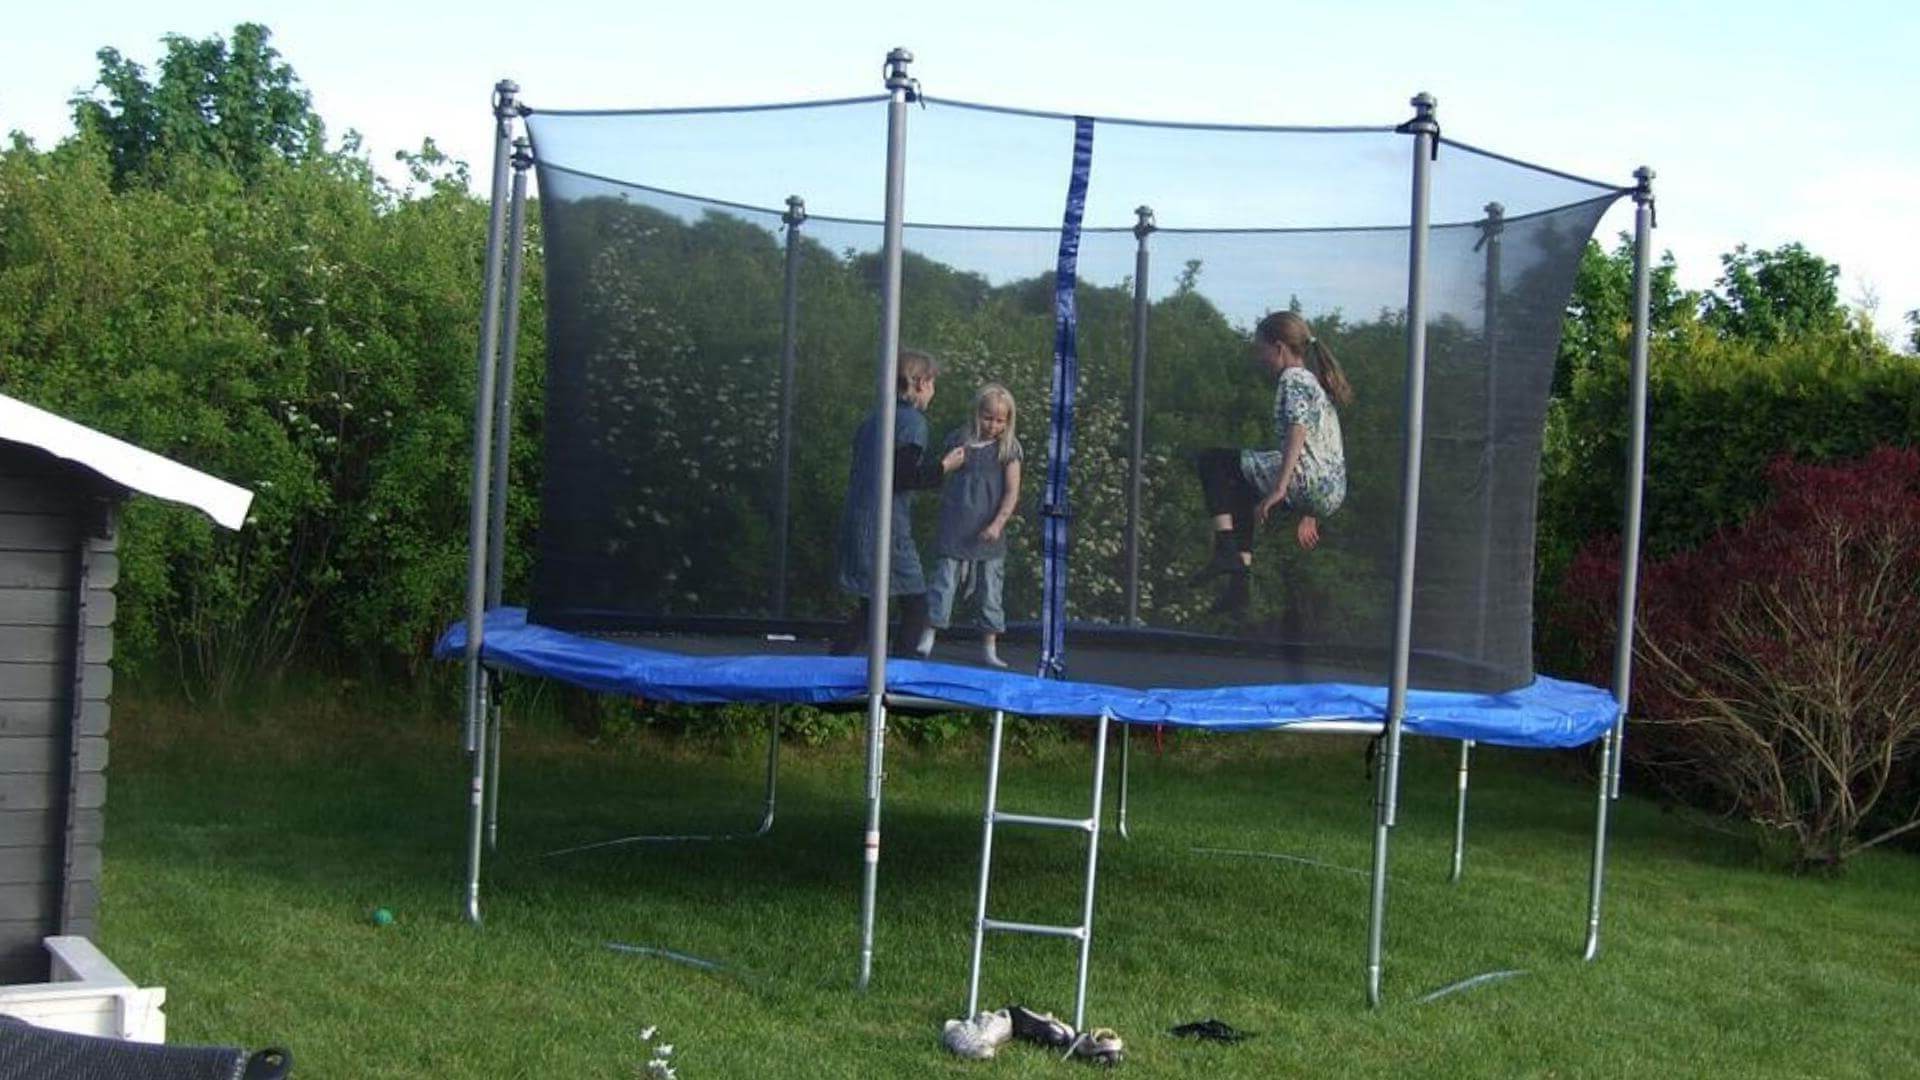
By: Evelyn Wilson • DIY & Crafts
Safety Precautions Before you start assembling your trampoline, it's crucial to prioritize safety. Here are some essential safety precautions to keep in mind: Read the Manual: Always start by thoroughly reading the manufacturer's assembly instructions. Each trampoline may have specific guidelines and safety measures that you need to follow. Clear...
Read More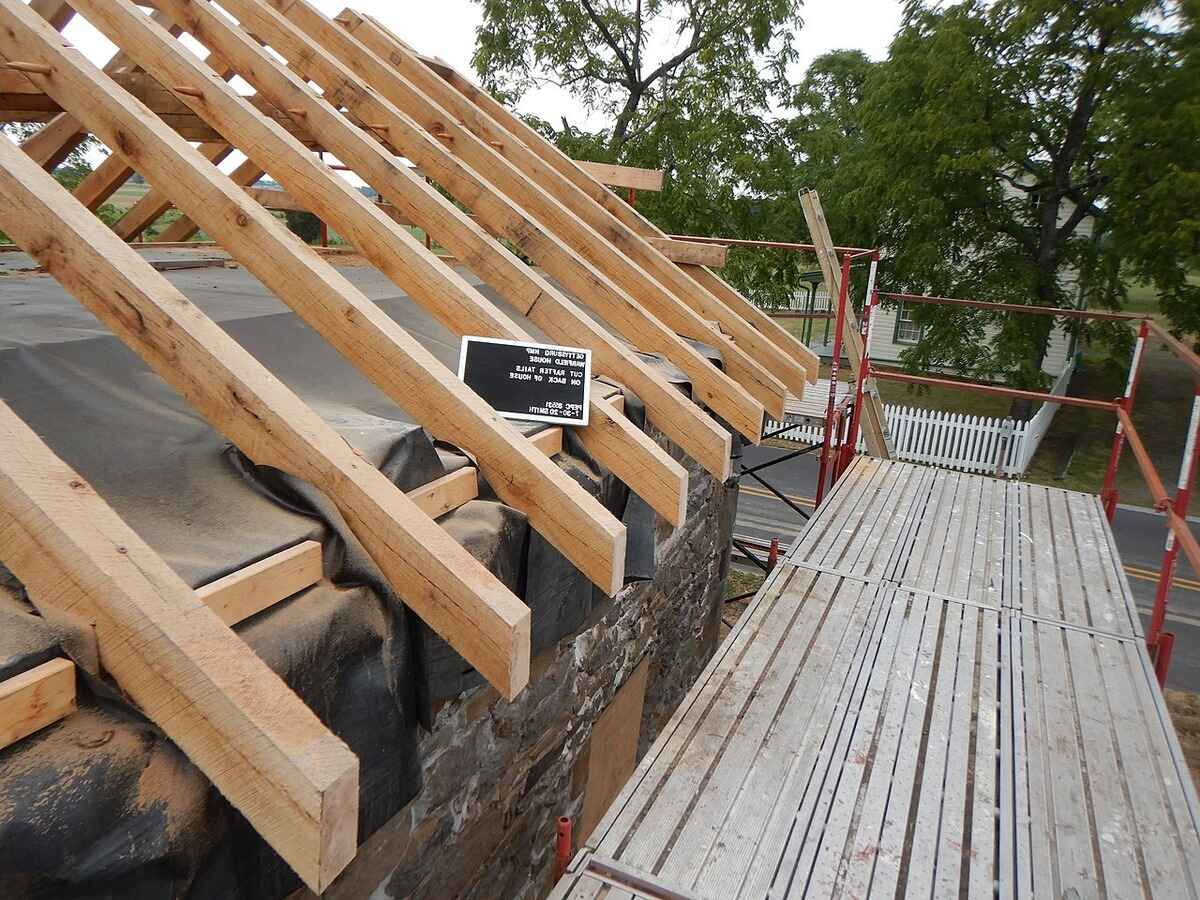
By: Evelyn Wilson • DIY & Crafts
Introduction So, you're planning to build a new roof or perhaps renovate an existing one, and you're wondering how to cut rafters. Well, you've come to the right place! Cutting rafters is a crucial skill for anyone involved in roof framing, and it's essential to get it right to ensure...
Read More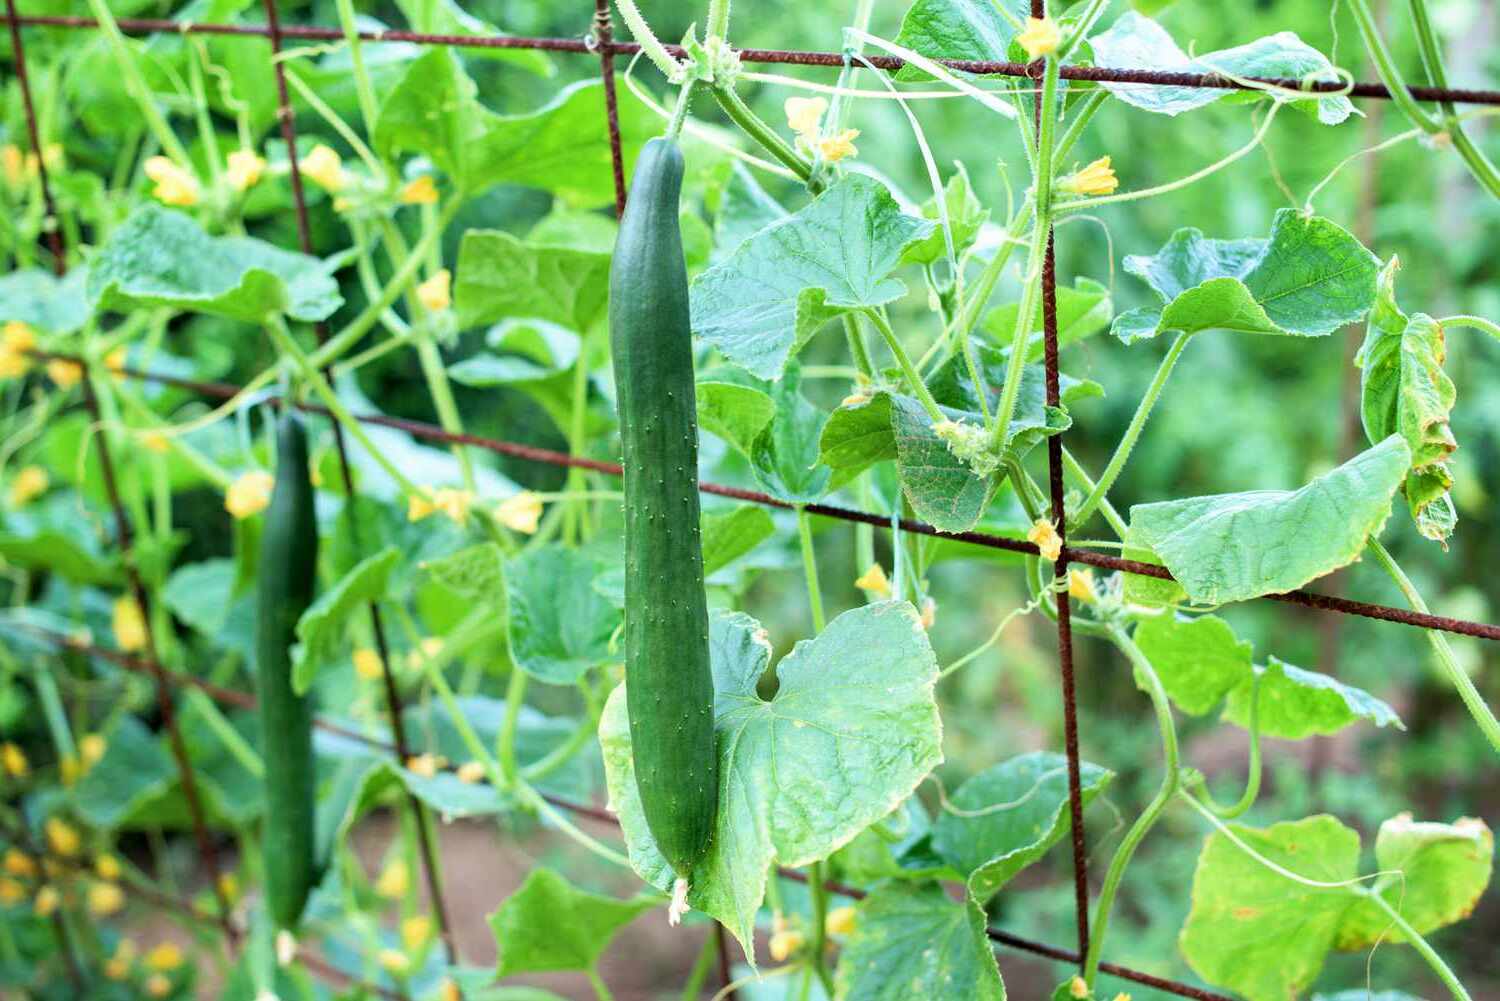
By: Evelyn Wilson • DIY & Crafts
Clever Cucumber Trellis: A DIY Guide To Growing Vines And Maximizing Space
Introduction Are you looking to maximize your garden space and grow healthy, thriving cucumber vines? One of the best ways to achieve this is by building a cucumber trellis. A cucumber trellis not only helps save space but also encourages better air circulation and sunlight exposure for your plants. In...
Read More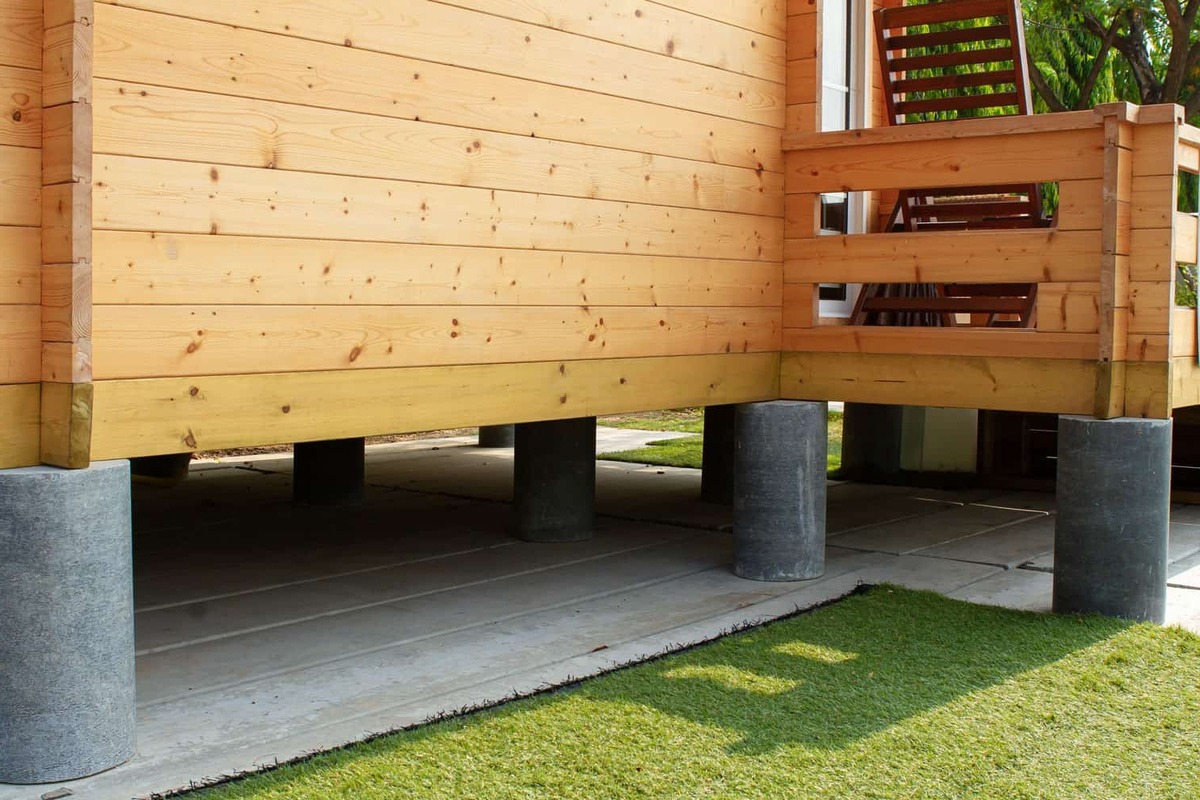
By: Harper Martinez • DIY & Crafts
DIY Pier And Beam Foundation Design: Step-by-Step Guide
Introduction Are you considering building a new structure or renovating an existing one? If so, understanding the basics of DIY pier and beam foundation design is crucial. This step-by-step guide will walk you through the process of creating a sturdy and reliable foundation for your project. Whether you're a seasoned...
Read More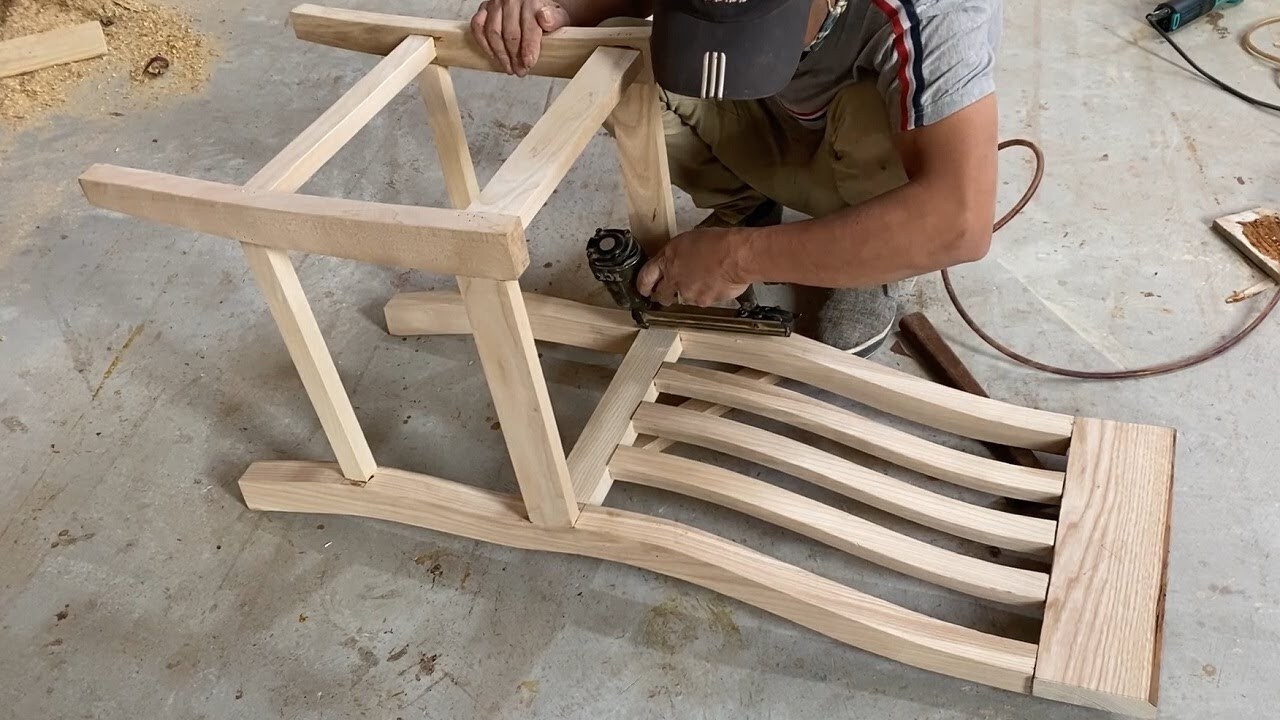
By: Evelyn Wilson • DIY & Crafts
Introduction So, you want to learn how to make chairs, huh? Well, you've come to the right place! Making your own chairs can be a rewarding and practical DIY project. Whether you're a seasoned woodworker or just starting out, crafting your own chairs allows you to customize the design to...
Read More
By: Harper Martinez • DIY & Crafts
Introduction So, you've decided to take on the challenge of building a banister for your home. Congratulations! A banister not only adds safety and support to your staircase but also enhances the overall aesthetic of your home. Whether you're a seasoned DIY enthusiast or a newcomer to the world of...
Read More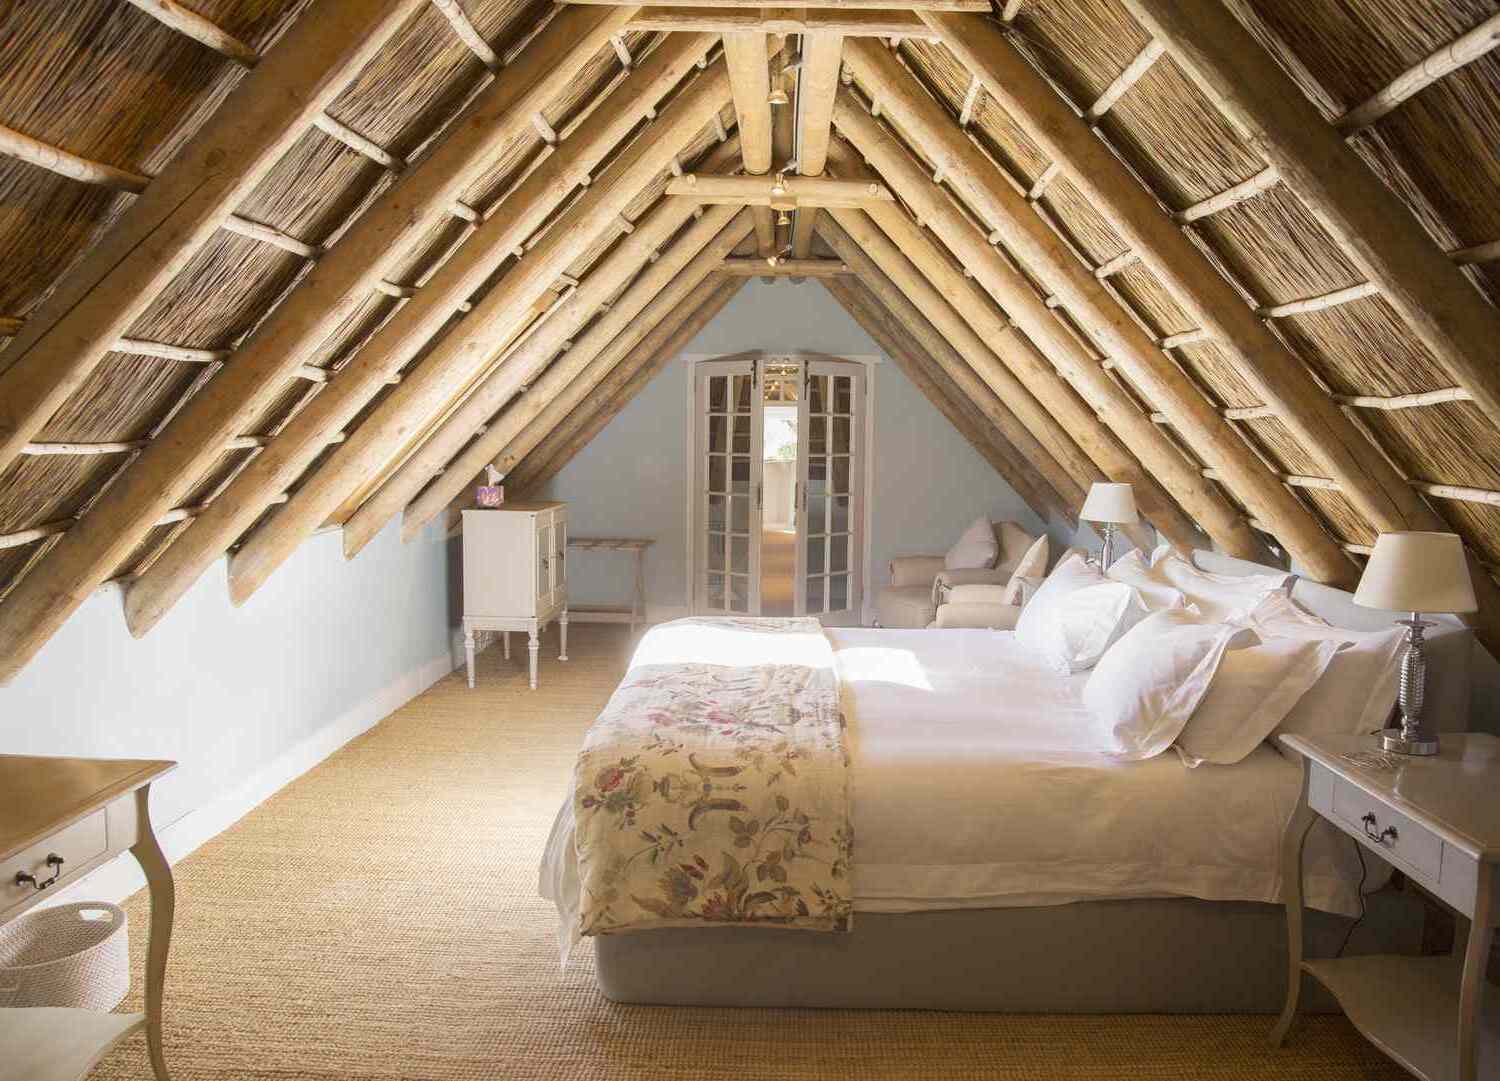
By: Harper Martinez • DIY & Crafts
Introduction So, you're thinking about adding a knee wall to your home, but you're not quite sure where to start. Well, you've come to the right place! In this guide, we'll walk you through the step-by-step process of building a knee wall. Whether you're looking to create a half-wall to...
Read More
By: Evelyn Wilson • DIY & Crafts
DIY Faux Beams: Create Stunning Ceiling Accents
Introduction Are you looking to add a touch of rustic charm to your home? Faux beams are a fantastic way to create stunning ceiling accents that can transform the look and feel of any room. Whether you want to give your living room a cozy, cabin-like atmosphere or add a...
Read More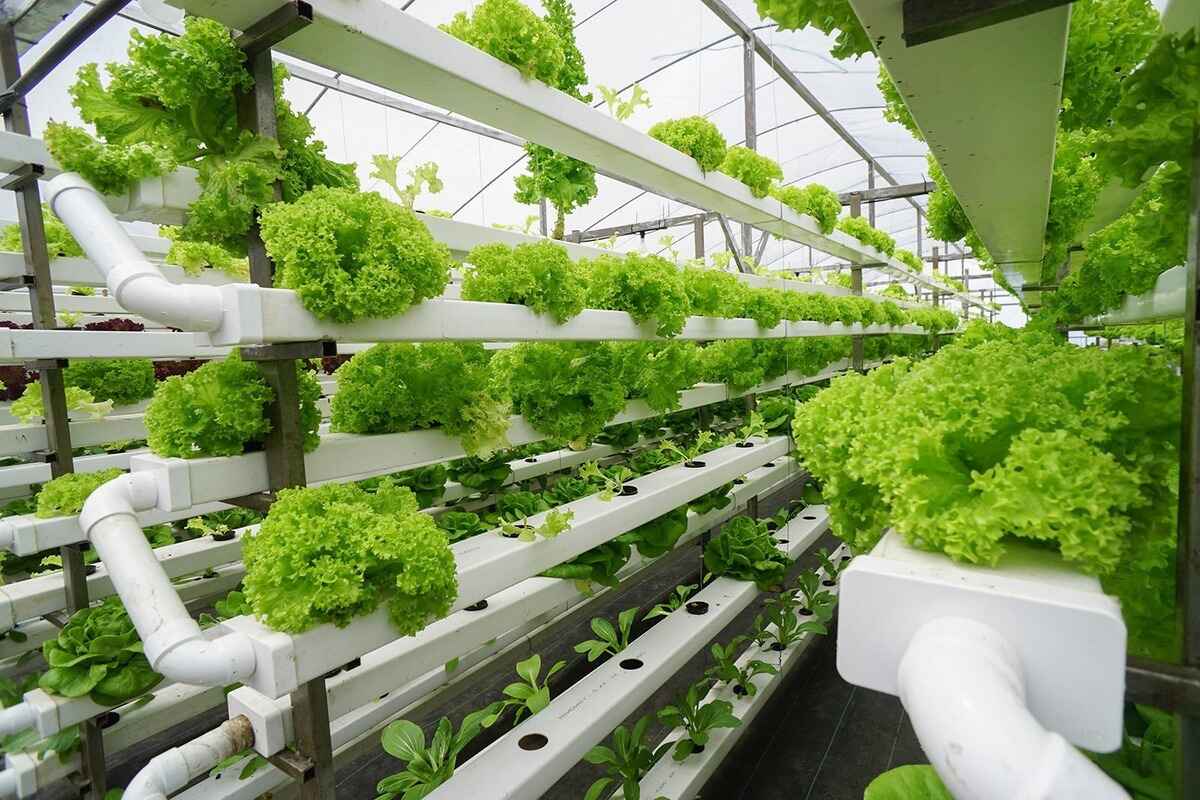
By: Evelyn Wilson • DIY & Crafts
DIY Aquaponics: How To Build Your Own Sustainable Garden
Introduction Are you looking for a sustainable and eco-friendly way to grow your own fresh produce at home? DIY aquaponics might just be the solution you've been searching for. By combining aquaculture (raising fish) and hydroponics (growing plants in water), aquaponics creates a self-sustaining ecosystem where fish waste provides the...
Read More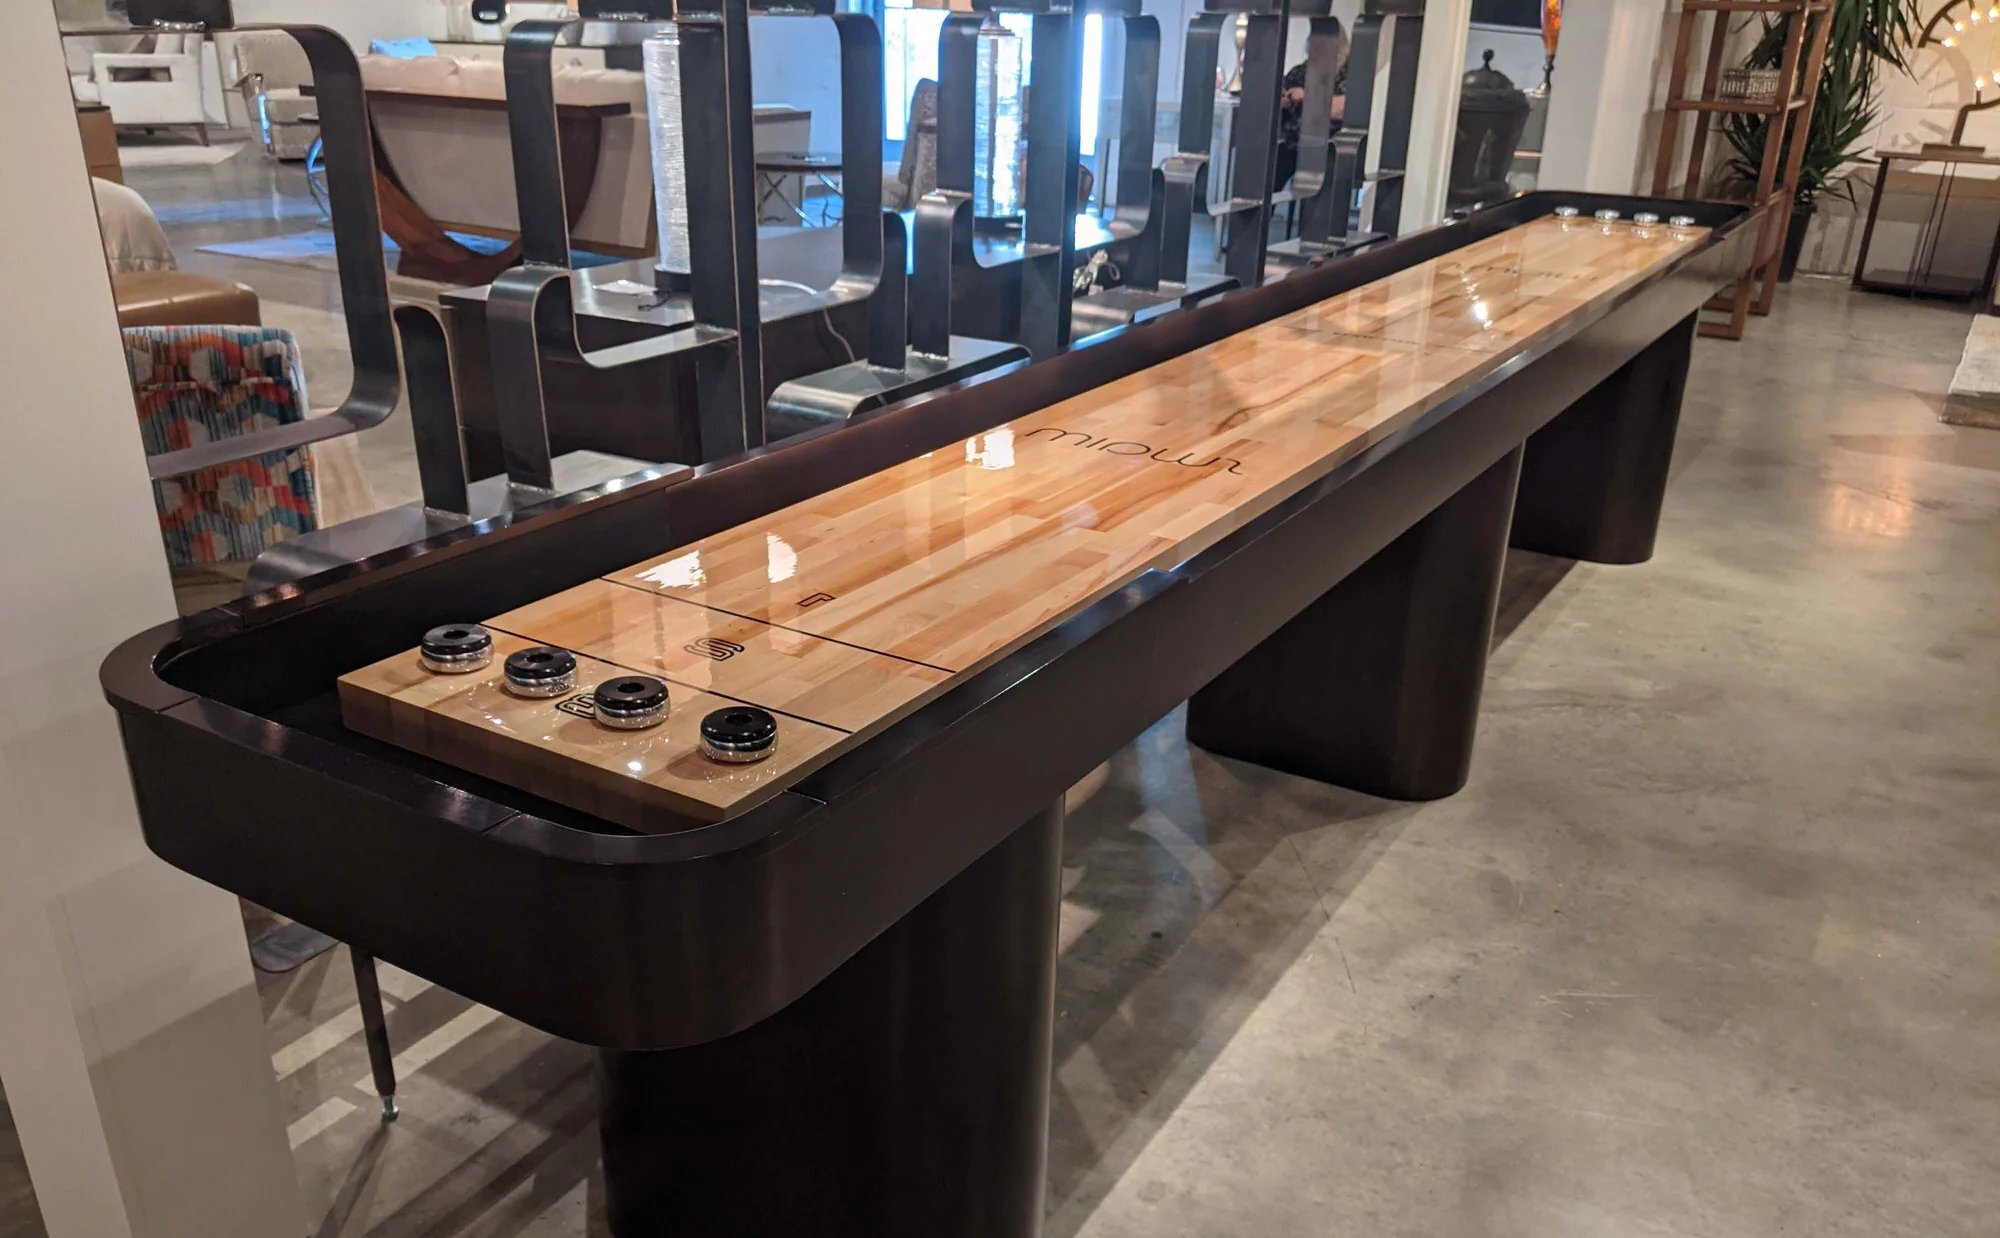
By: Harper Martinez • DIY & Crafts
DIY Shuffleboard Table: Step-by-Step Guide To Building Your Own
Introduction Are you a fan of shuffleboard but don't want to break the bank purchasing a table? Building your own DIY shuffleboard table can be a rewarding and cost-effective project. Not only will you save money, but you'll also have the satisfaction of creating a custom piece for your home....
Read More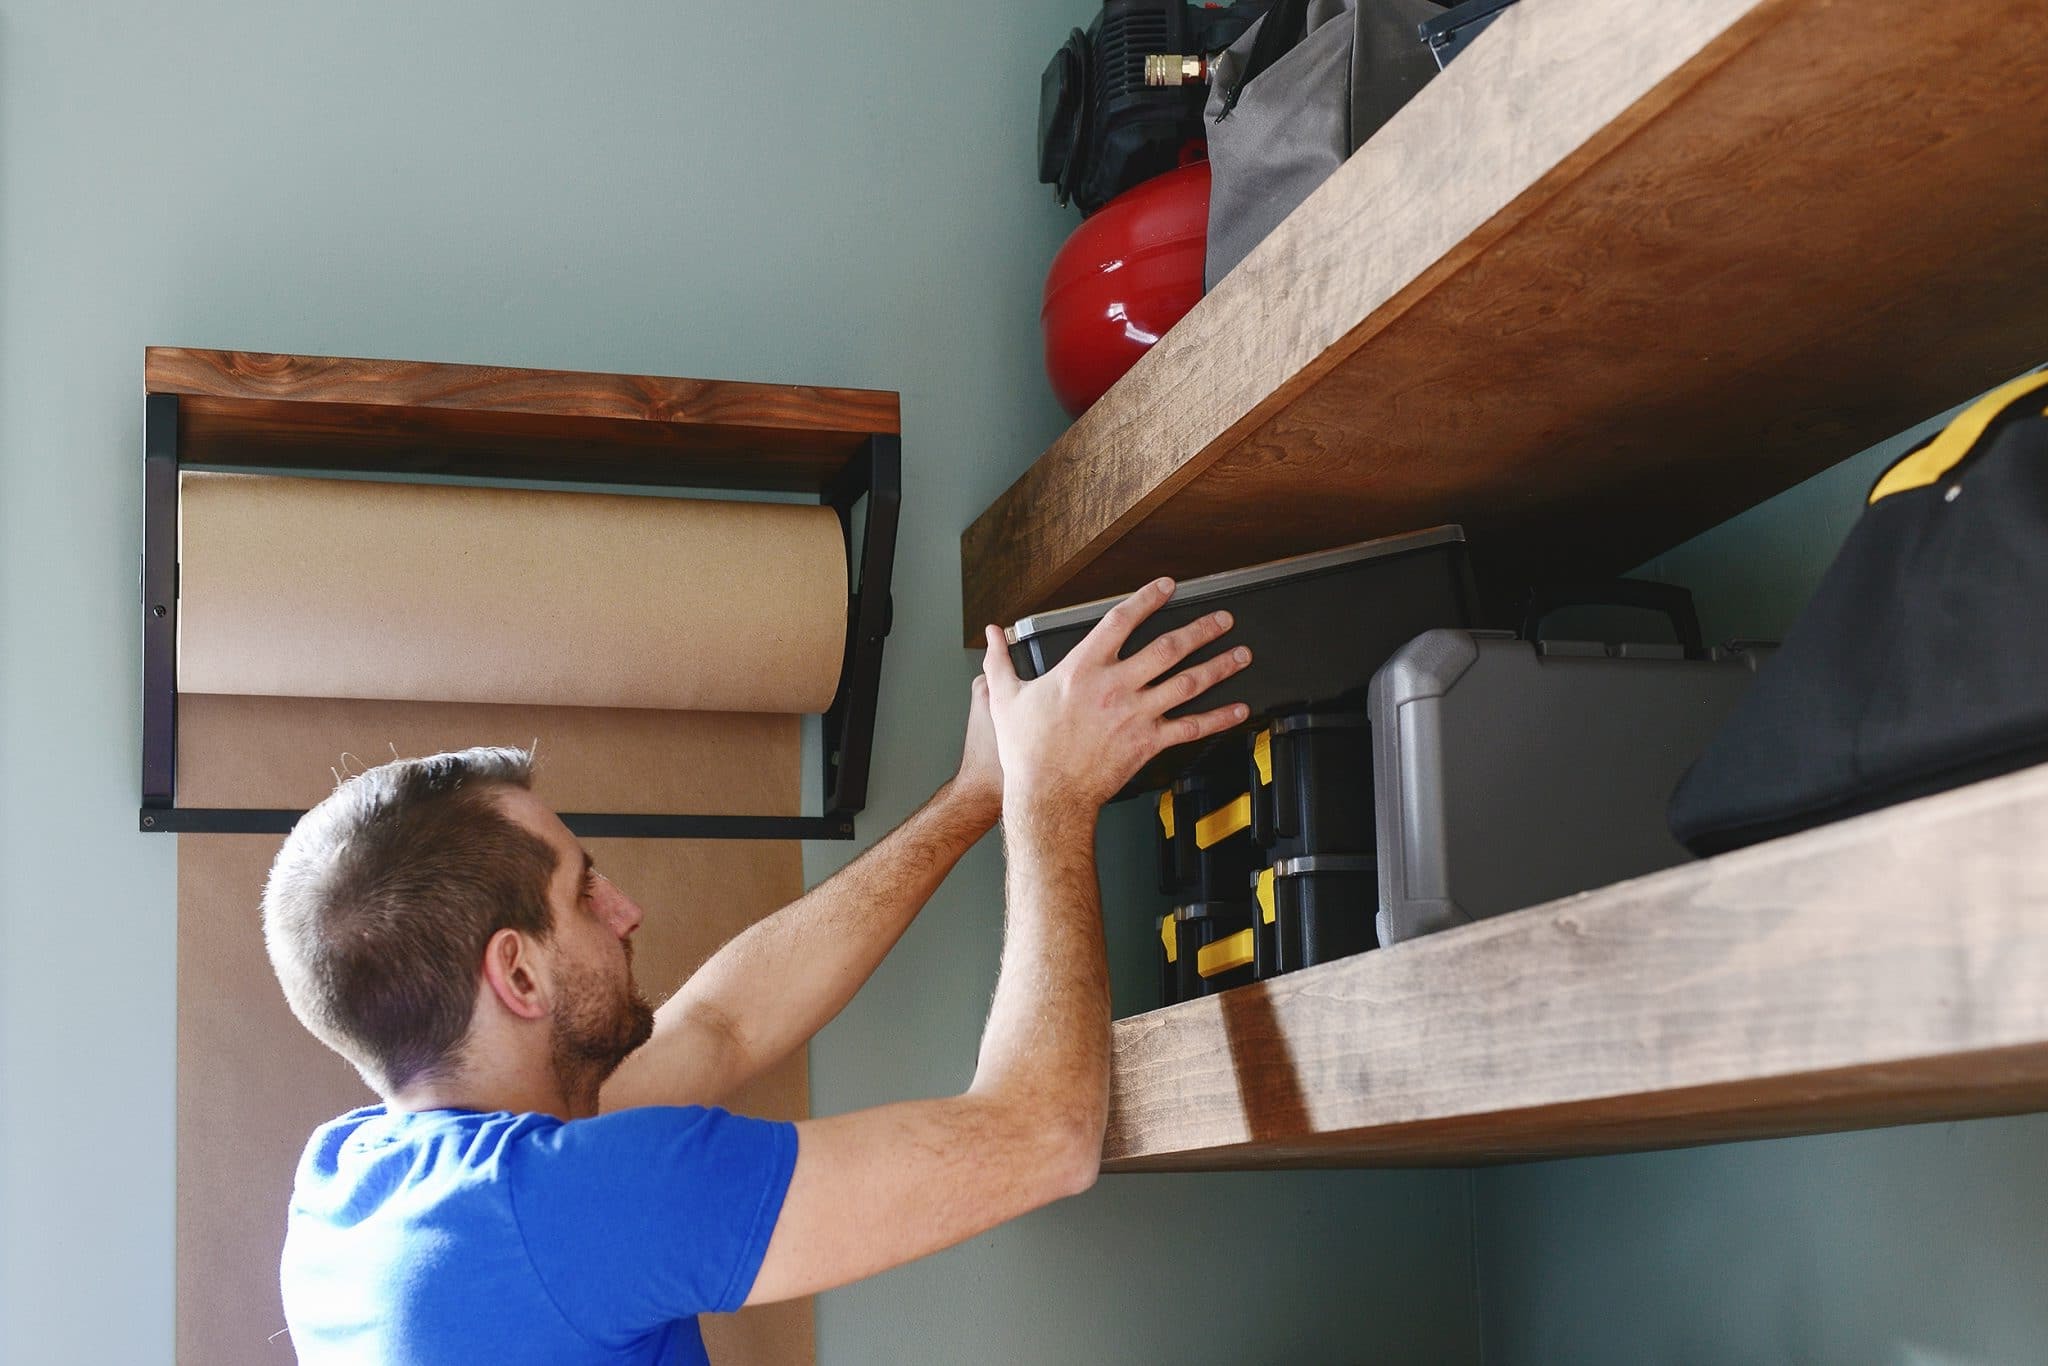
By: Evelyn Wilson • DIY & Crafts
How To Install Floating Shelves Without Brackets
Introduction So, you've decided to add some floating shelves to your home, but you're not a fan of the traditional bracket look. No worries! Installing floating shelves without brackets is a great way to achieve a clean, modern look while maximizing space. In this guide, we'll walk you through the...
Read More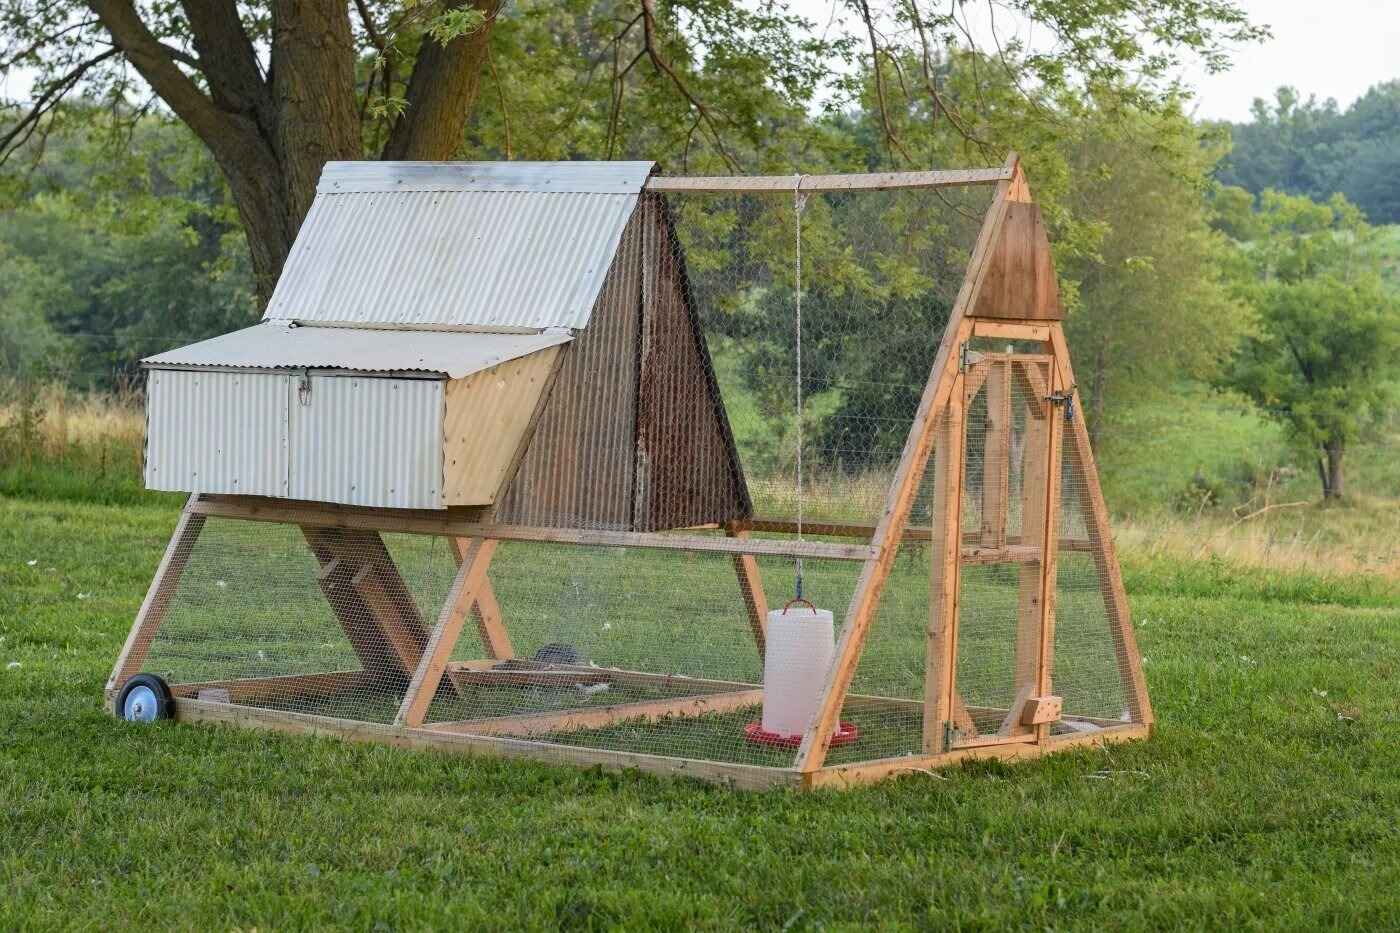
By: Evelyn Wilson • DIY & Crafts
Easy Chicken Tractor Plans For Your DIY Project
Introduction Are you considering raising chickens in your backyard? If so, building a chicken tractor could be the perfect DIY project for you. A chicken tractor is a portable coop that allows your chickens to graze on fresh grass while still being protected from predators. In this article, we will...
Read More
By: Harper Martinez • DIY & Crafts
DIY Kitchen Island: Transform Your Space With This Crafty Project
Introduction Are you looking to add some extra functionality and style to your kitchen? A DIY kitchen island might just be the perfect project for you. Whether you're an experienced DIY enthusiast or just starting out, building your own kitchen island can be a rewarding and cost-effective way to transform...
Read More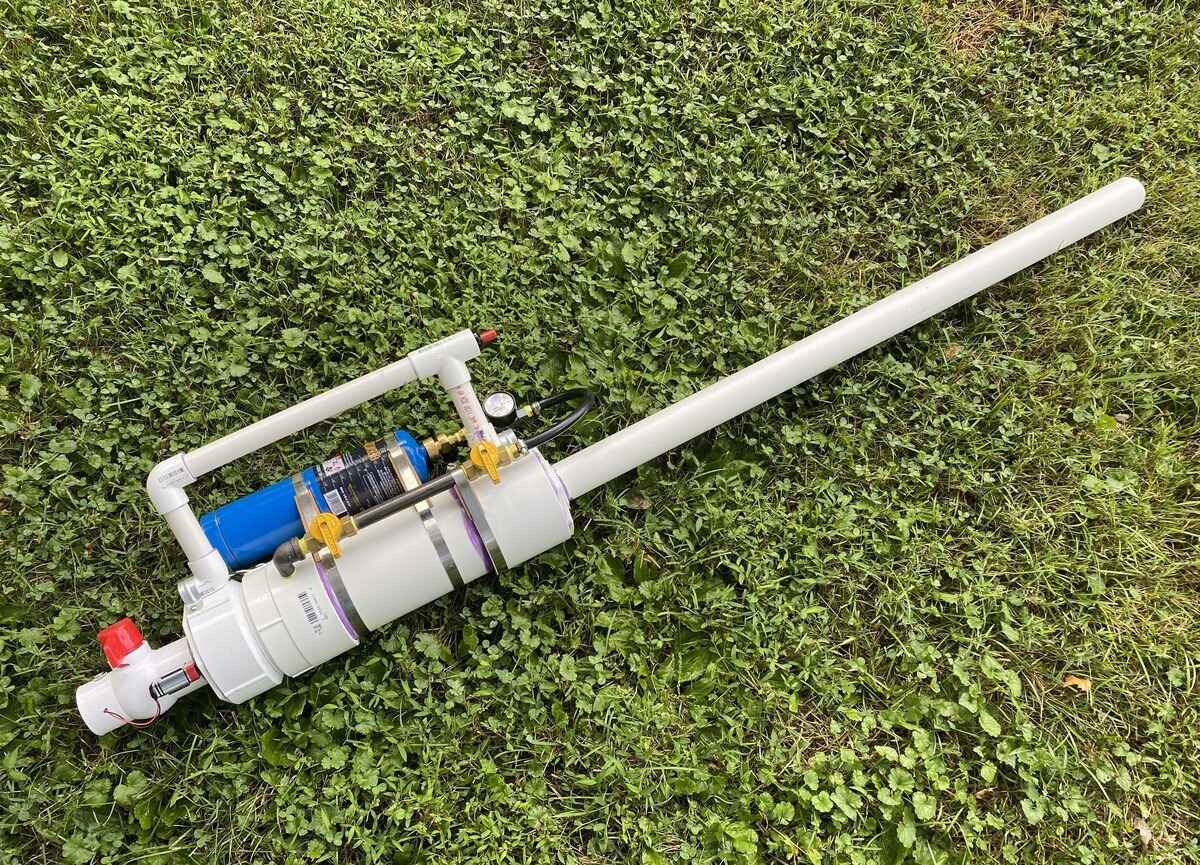
By: Evelyn Wilson • DIY & Crafts
Introduction So, you want to know how to make a potato gun, huh? Well, you've come to the right place! Making a potato gun can be a fun and rewarding project for any DIY enthusiast. Whether you're looking for a new backyard toy or just want to impress your friends...
Read More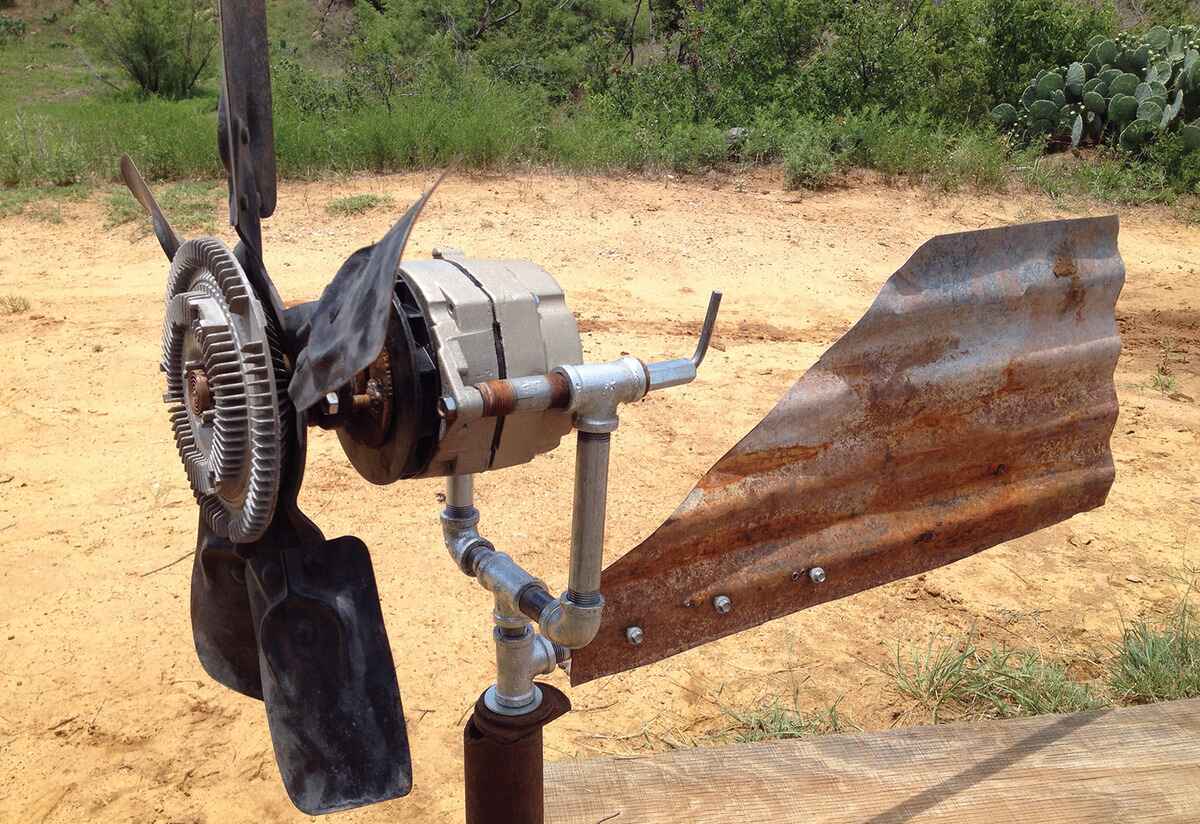
By: Harper Martinez • DIY & Crafts
Introduction So, you're looking to have a backup power source for your home or maybe you want to build a portable generator for your camping trips. Whatever the reason, making your own generator can be a rewarding and cost-effective DIY project. Not only will it give you a sense of...
Read More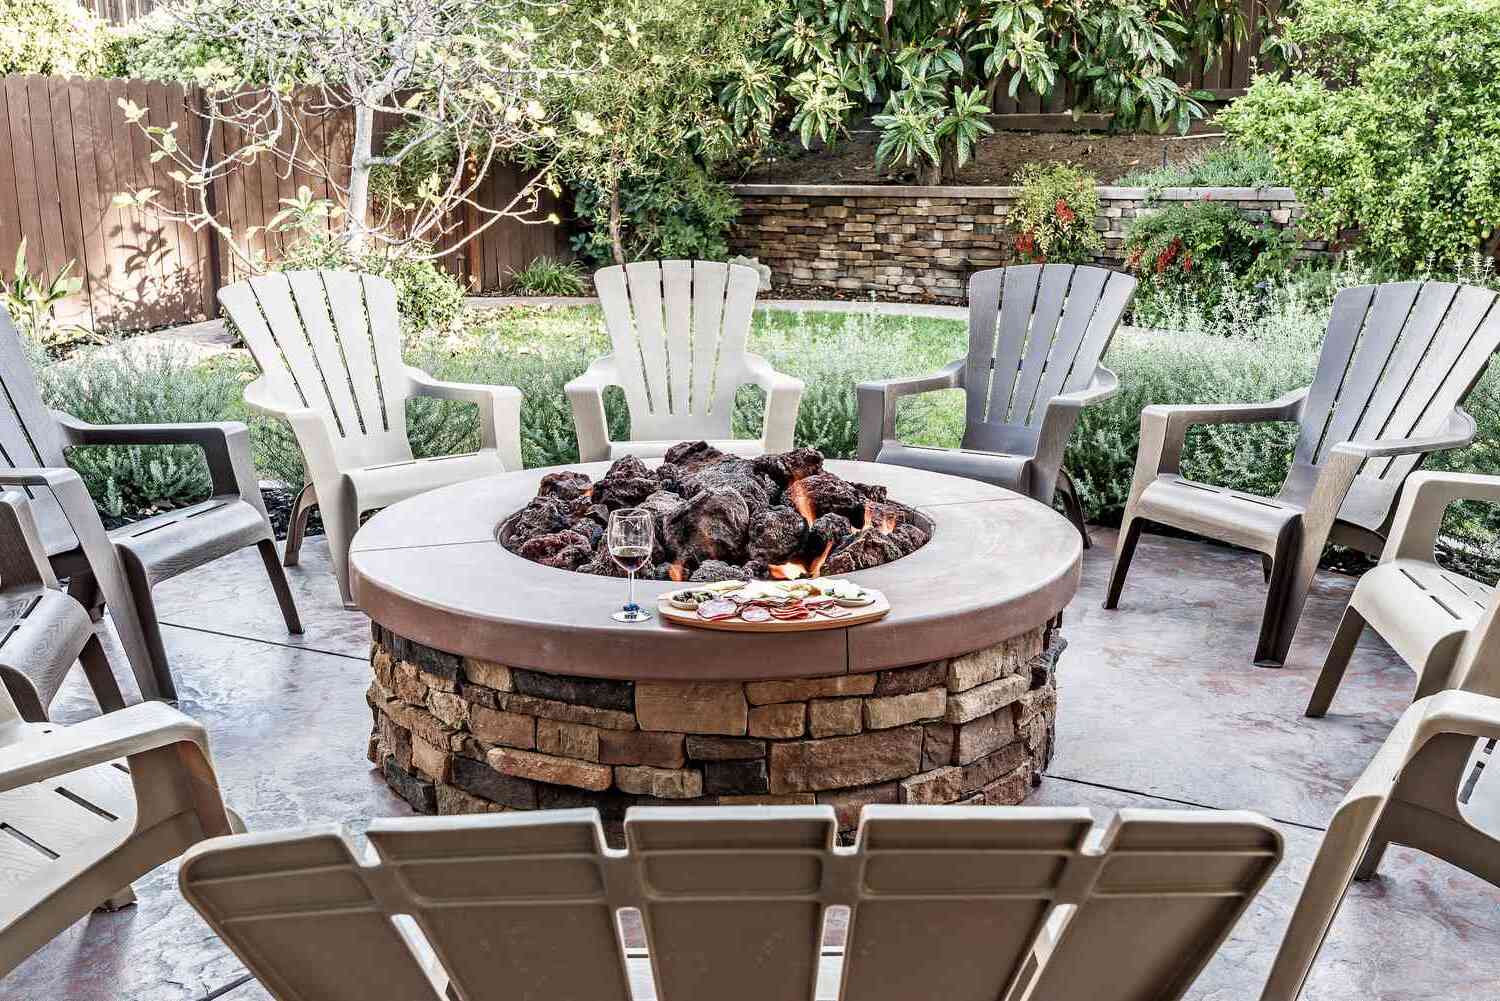
By: Evelyn Wilson • DIY & Crafts
Stone Fire Pit DIY: Create Your Own Backyard Oasis
Introduction So, you're dreaming of cozy evenings spent under the stars, gathered around a crackling fire with friends and family. Well, you're in luck because creating your own stone fire pit is easier than you might think. With a little bit of elbow grease and some creativity, you can transform...
Read More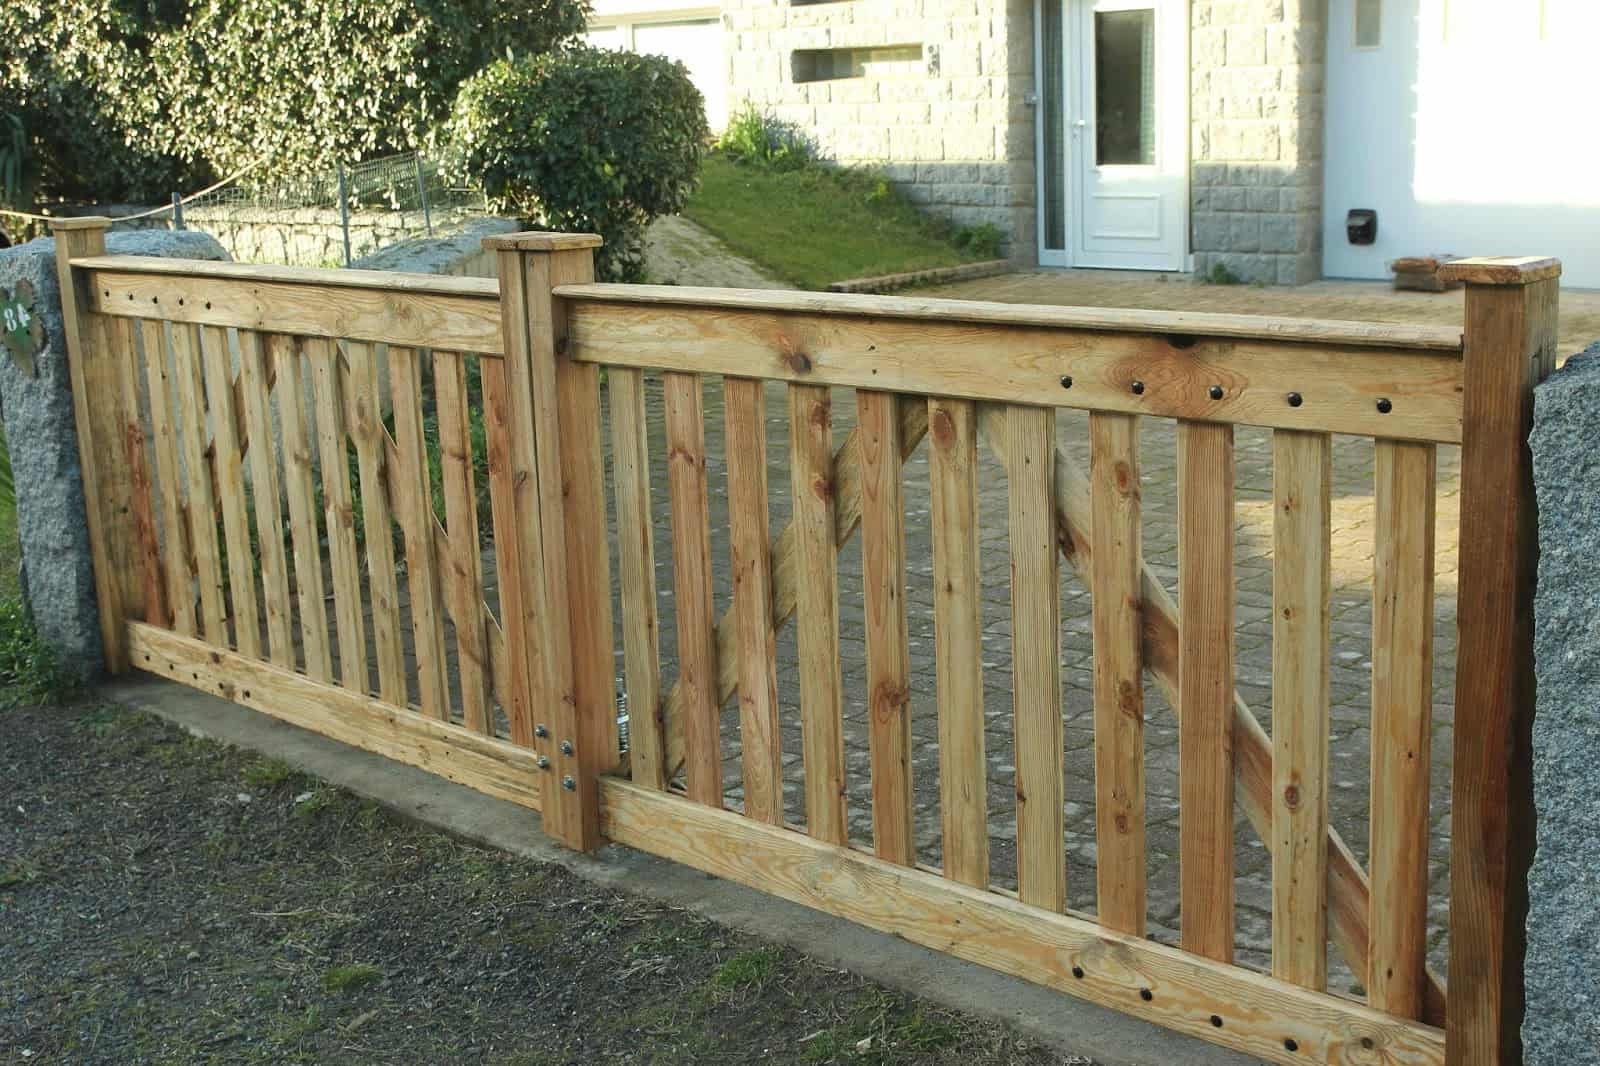
By: Evelyn Wilson • DIY & Crafts
DIY Driveway Gate: Step-by-Step Guide To Building Your Own
Introduction Are you looking to add some extra security and curb appeal to your property? Building your own DIY driveway gate can be a rewarding project that not only enhances the look of your home but also provides an added layer of security. Whether you're a seasoned DIY enthusiast or...
Read MoreFeatured

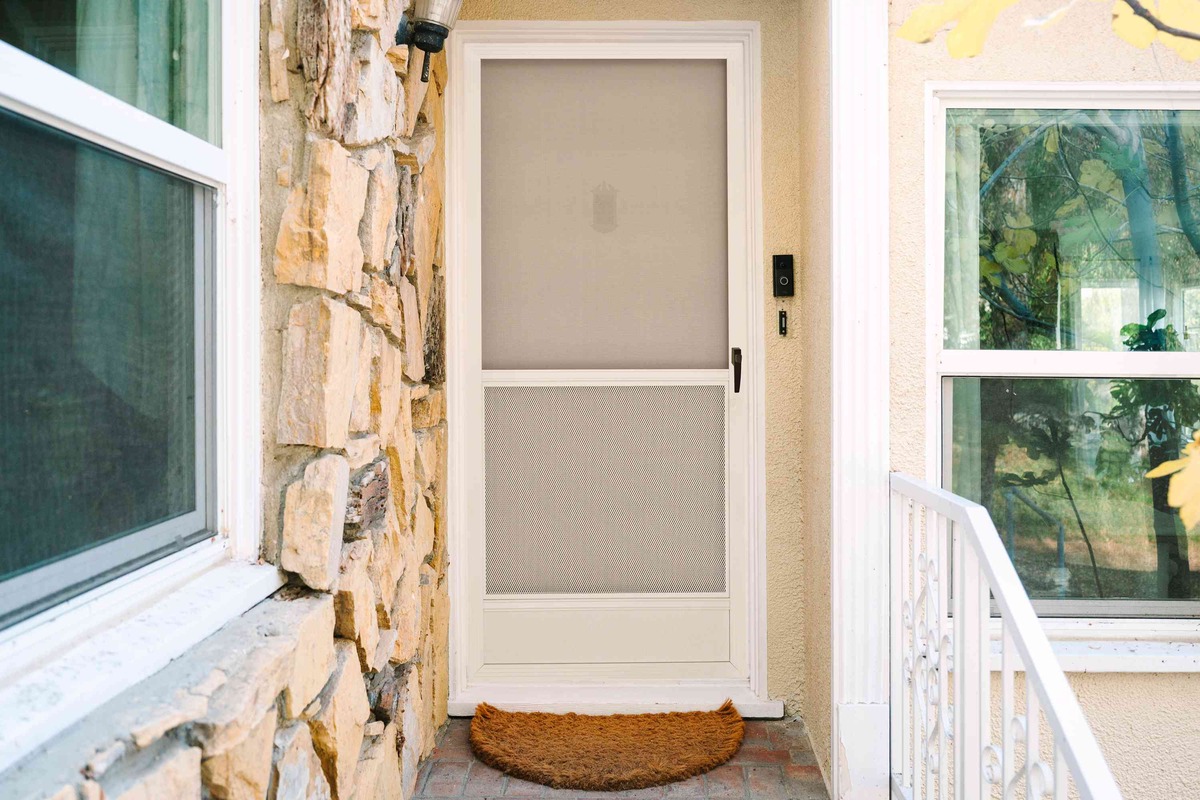
By: Evelyn Wilson • Doors & Windows
DIY Screen Door: Step-by-Step Guide To Building Your Own
Read More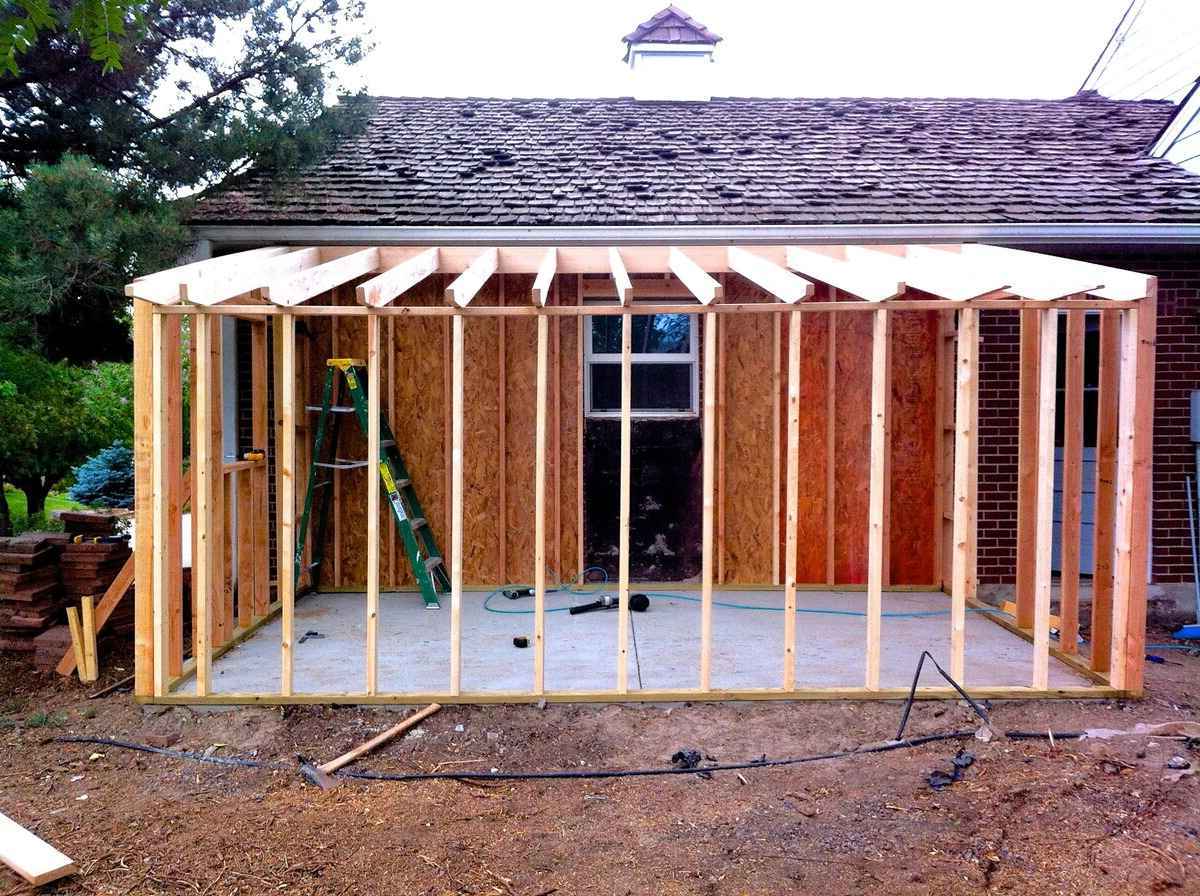
By: Harper Martinez • Featured
DIY Shed Roof Framing: Step-by-Step Guide For Building A Sturdy Structure
Read More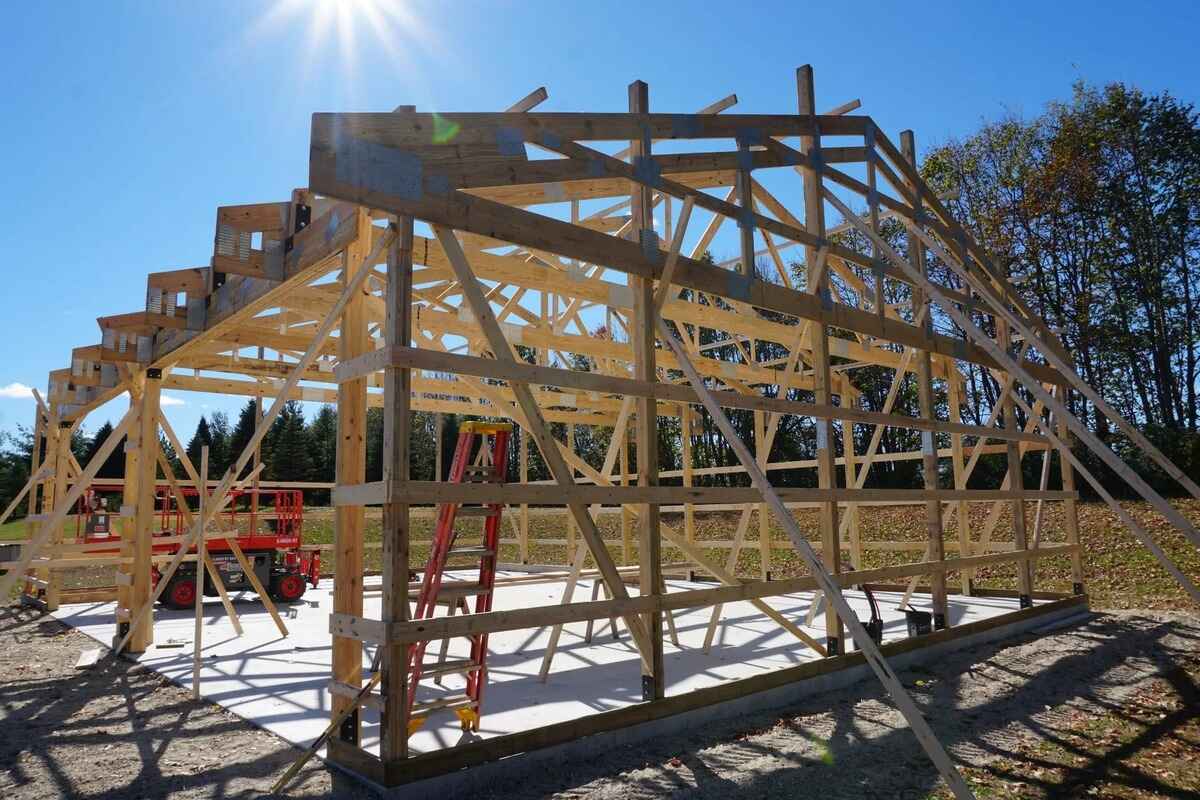

PLEATED LAMPSHADE ARE MY NEW FAVORITE THING
SHOULD WE STAY LIGHT OR GO DARK WITH PAINTING OUR TINY MASTER BEDROOM?