Home>Create & Decorate>DIY & Crafts>How To Properly Oil Your Sewing Machine For Longevity
DIY & Crafts
How To Properly Oil Your Sewing Machine For Longevity
Published: February 15, 2024

Senior Editor in Create & Decorate, Kathryn combines traditional craftsmanship with contemporary trends. Her background in textile design and commitment to sustainable crafts inspire both content and community.
Learn how to properly oil your sewing machine to ensure its longevity and smooth operation. Follow these DIY & Crafts tips for optimal maintenance.
(Many of the links in this article redirect to a specific reviewed product. Your purchase of these products through affiliate links helps to generate commission for Twigandthistle.com, at no extra cost. Learn more)
Introduction
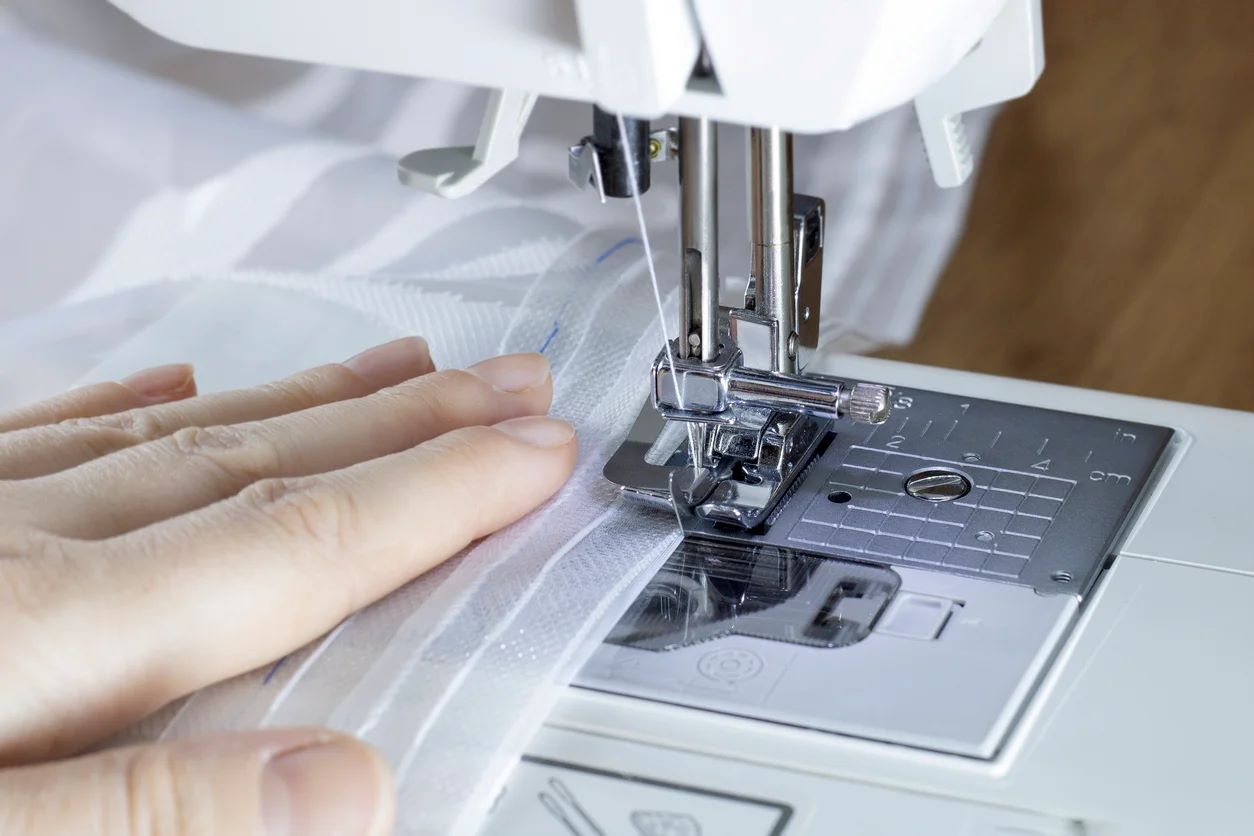
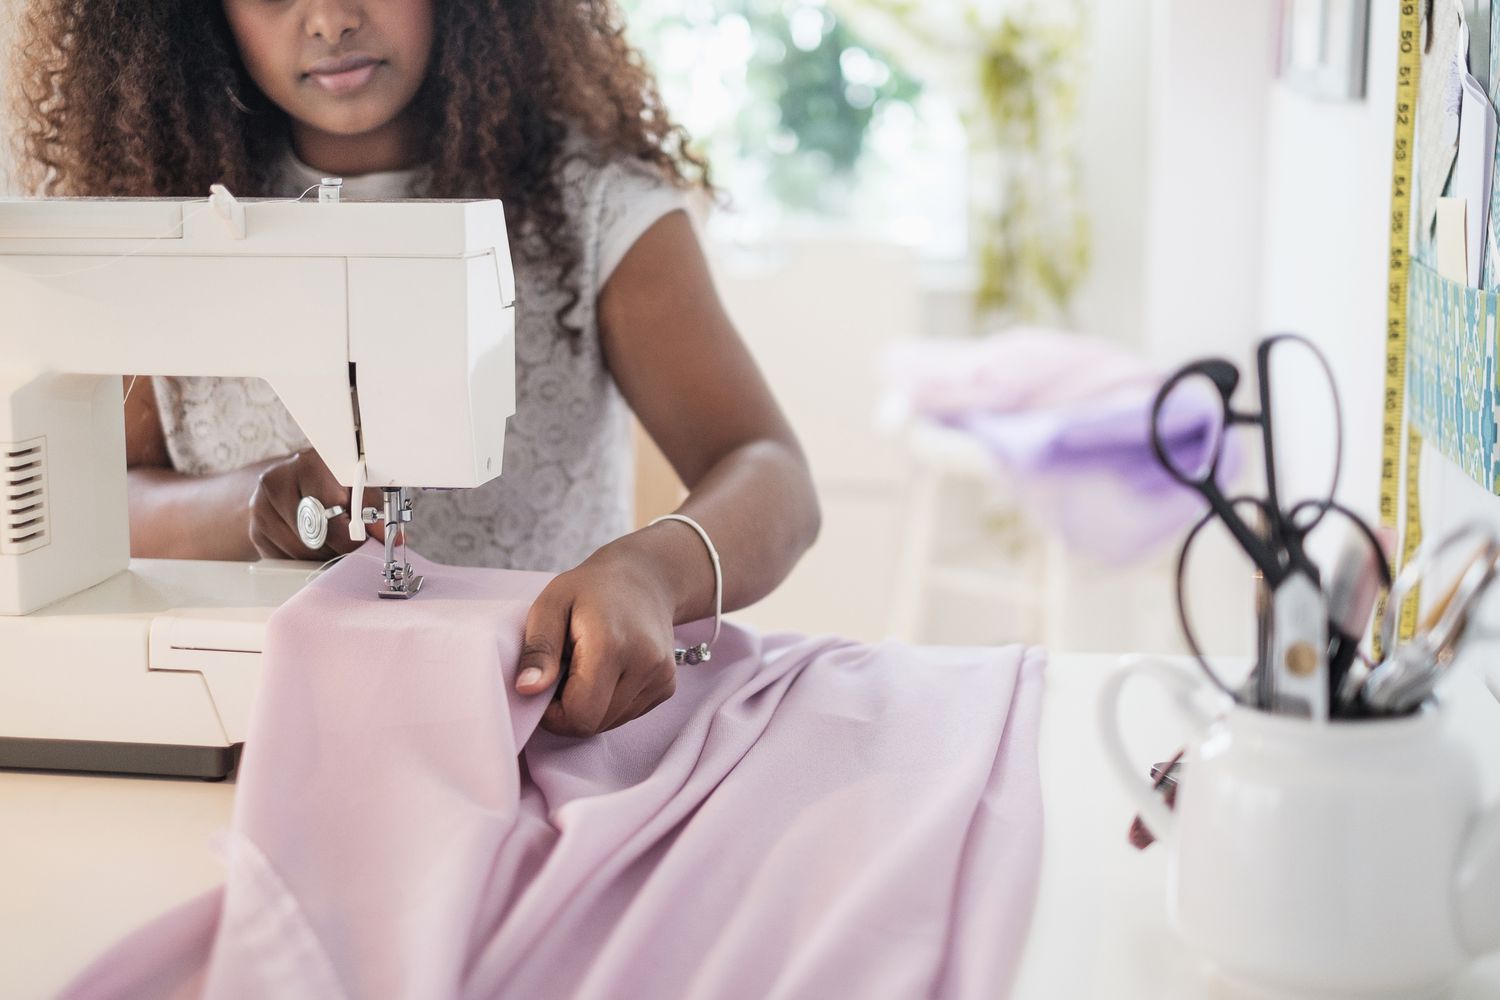
Proper maintenance is essential for the longevity and optimal performance of any tool or machine, and a sewing machine is no exception. Whether you are a seasoned seamstress or a novice crafter, understanding the importance of regular maintenance, particularly oiling your sewing machine, is crucial. Neglecting this simple yet vital task can lead to decreased efficiency, increased wear and tear, and potential malfunctions. In this comprehensive guide, we will delve into the significance of properly oiling your sewing machine and provide you with a step-by-step approach to ensure its smooth operation for years to come.
A well-oiled sewing machine not only operates quietly but also ensures that the intricate mechanisms within the machine function seamlessly. Just as a car engine requires oil to lubricate its moving parts, a sewing machine relies on proper lubrication to reduce friction and prevent excessive wear. This, in turn, minimizes the risk of costly repairs and extends the lifespan of the machine.
By taking the time to understand and implement the proper oiling techniques, you are investing in the durability and efficiency of your sewing machine. This proactive approach not only saves you time and money in the long run but also allows you to enjoy uninterrupted sewing sessions without the worry of unexpected breakdowns.
Now, let's explore the tools and materials needed to embark on this essential maintenance task and learn the step-by-step process of oiling your sewing machine to ensure its optimal functionality.
Importance of Properly Oiling Your Sewing Machine
Properly oiling your sewing machine is a fundamental aspect of its maintenance that should not be overlooked. The significance of this task lies in its ability to ensure the smooth and efficient operation of the machine, thereby contributing to its longevity and performance.
-
Friction Reduction: A sewing machine comprises numerous moving parts that work in tandem to create intricate stitches. Without proper lubrication, these components can experience increased friction, leading to premature wear and potential damage. By regularly oiling your sewing machine, you effectively reduce friction, allowing the parts to move smoothly and minimizing the risk of wear and tear.
-
Prevention of Rust and Corrosion: Sewing machines, especially those made of metal, are susceptible to rust and corrosion if not adequately maintained. Applying oil to the metal components forms a protective barrier, preventing moisture from causing damage. This is particularly crucial for vintage or antique sewing machines, as they may be more prone to corrosion due to their age.
-
Noise Reduction: A well-oiled sewing machine operates quietly, creating a more pleasant and conducive sewing environment. The absence of squeaks and creaks not only enhances the sewing experience but also indicates that the machine is functioning smoothly.
-
Enhanced Stitch Quality: Proper lubrication ensures that the moving parts of the sewing machine function harmoniously, resulting in improved stitch quality. Whether you are working on delicate fabrics or heavy-duty materials, a well-maintained machine contributes to the precision and consistency of your stitches.
-
Longevity and Cost-Efficiency: Regular oiling significantly extends the lifespan of your sewing machine. By preventing excessive wear and minimizing the risk of malfunctions, you reduce the likelihood of costly repairs or the need for premature replacement. This proactive approach ultimately saves you time, money, and the inconvenience of unexpected breakdowns.
Understanding the importance of properly oiling your sewing machine empowers you to take proactive measures in preserving its functionality and durability. With the knowledge of the benefits that stem from this simple yet crucial maintenance task, you can ensure that your sewing machine remains a reliable and efficient tool for your creative endeavors.
Tools and Materials Needed
Properly oiling your sewing machine requires the use of specific tools and materials to ensure effective and precise application. Before embarking on this maintenance task, it's essential to gather the following items:
Tools:
-
Screwdriver: A small screwdriver, typically a flat-head or Phillips-head, is necessary for accessing the internal components of the sewing machine. This tool allows you to remove the necessary parts to access the areas requiring oiling.
-
Lint Brush or Soft Cloth: A lint brush or soft cloth is essential for removing any accumulated lint or debris from the machine. This step is crucial before oiling, as it ensures that the internal components are clean and free from obstruction.
-
Tweezers: Having a pair of tweezers on hand can be beneficial for delicately removing any stubborn lint or thread remnants from hard-to-reach areas within the sewing machine.
Materials:
-
Sewing Machine Oil: It is imperative to use high-quality sewing machine oil specifically designed for lubricating sewing machines. Avoid using general-purpose oils, as they may not provide the necessary viscosity and could potentially damage the machine.
-
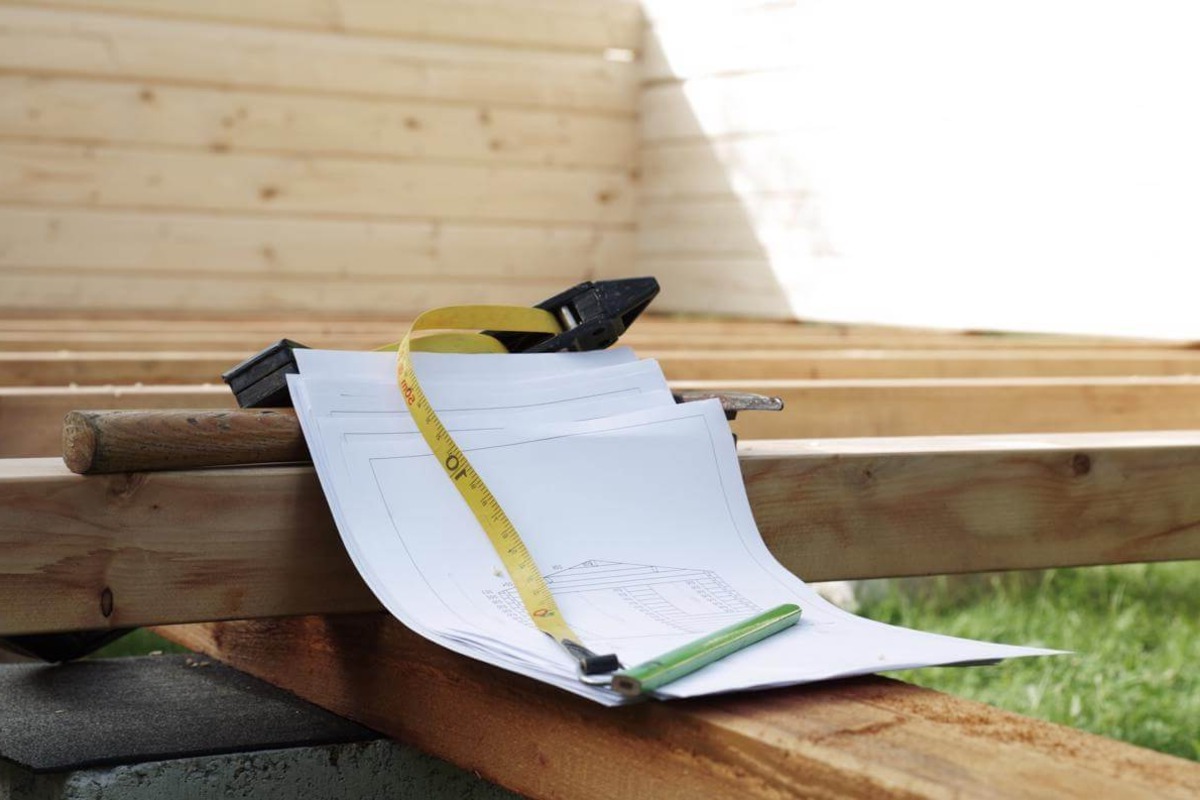
Owner's Manual: The owner's manual for your sewing machine is a valuable resource that provides specific guidance on maintenance, including oiling instructions and recommended oil types. If you do not have the manual, it is advisable to obtain a copy from the manufacturer's website or customer support.
-
Clean Cloth: A clean, lint-free cloth is essential for wiping away any excess oil and ensuring that the application is precise and controlled.
By ensuring that you have the appropriate tools and materials at your disposal, you can proceed with confidence in properly oiling your sewing machine. These items not only facilitate the maintenance process but also contribute to the overall care and preservation of your valuable sewing equipment.
Step-by-Step Guide to Oiling Your Sewing Machine
-
Refer to the Owner's Manual: Begin by consulting the owner's manual of your sewing machine to identify the specific areas that require oiling. Different models may have varying oiling points, and the manual provides essential guidance for this maintenance task.
-
Prepare the Machine: Turn off the sewing machine and unplug it from the power source to ensure safety. Raise the needle to its highest position and remove the presser foot, needle plate, and bobbin case following the instructions in the manual. Use a lint brush or soft cloth to gently remove any accumulated lint or debris from the exposed areas.
-
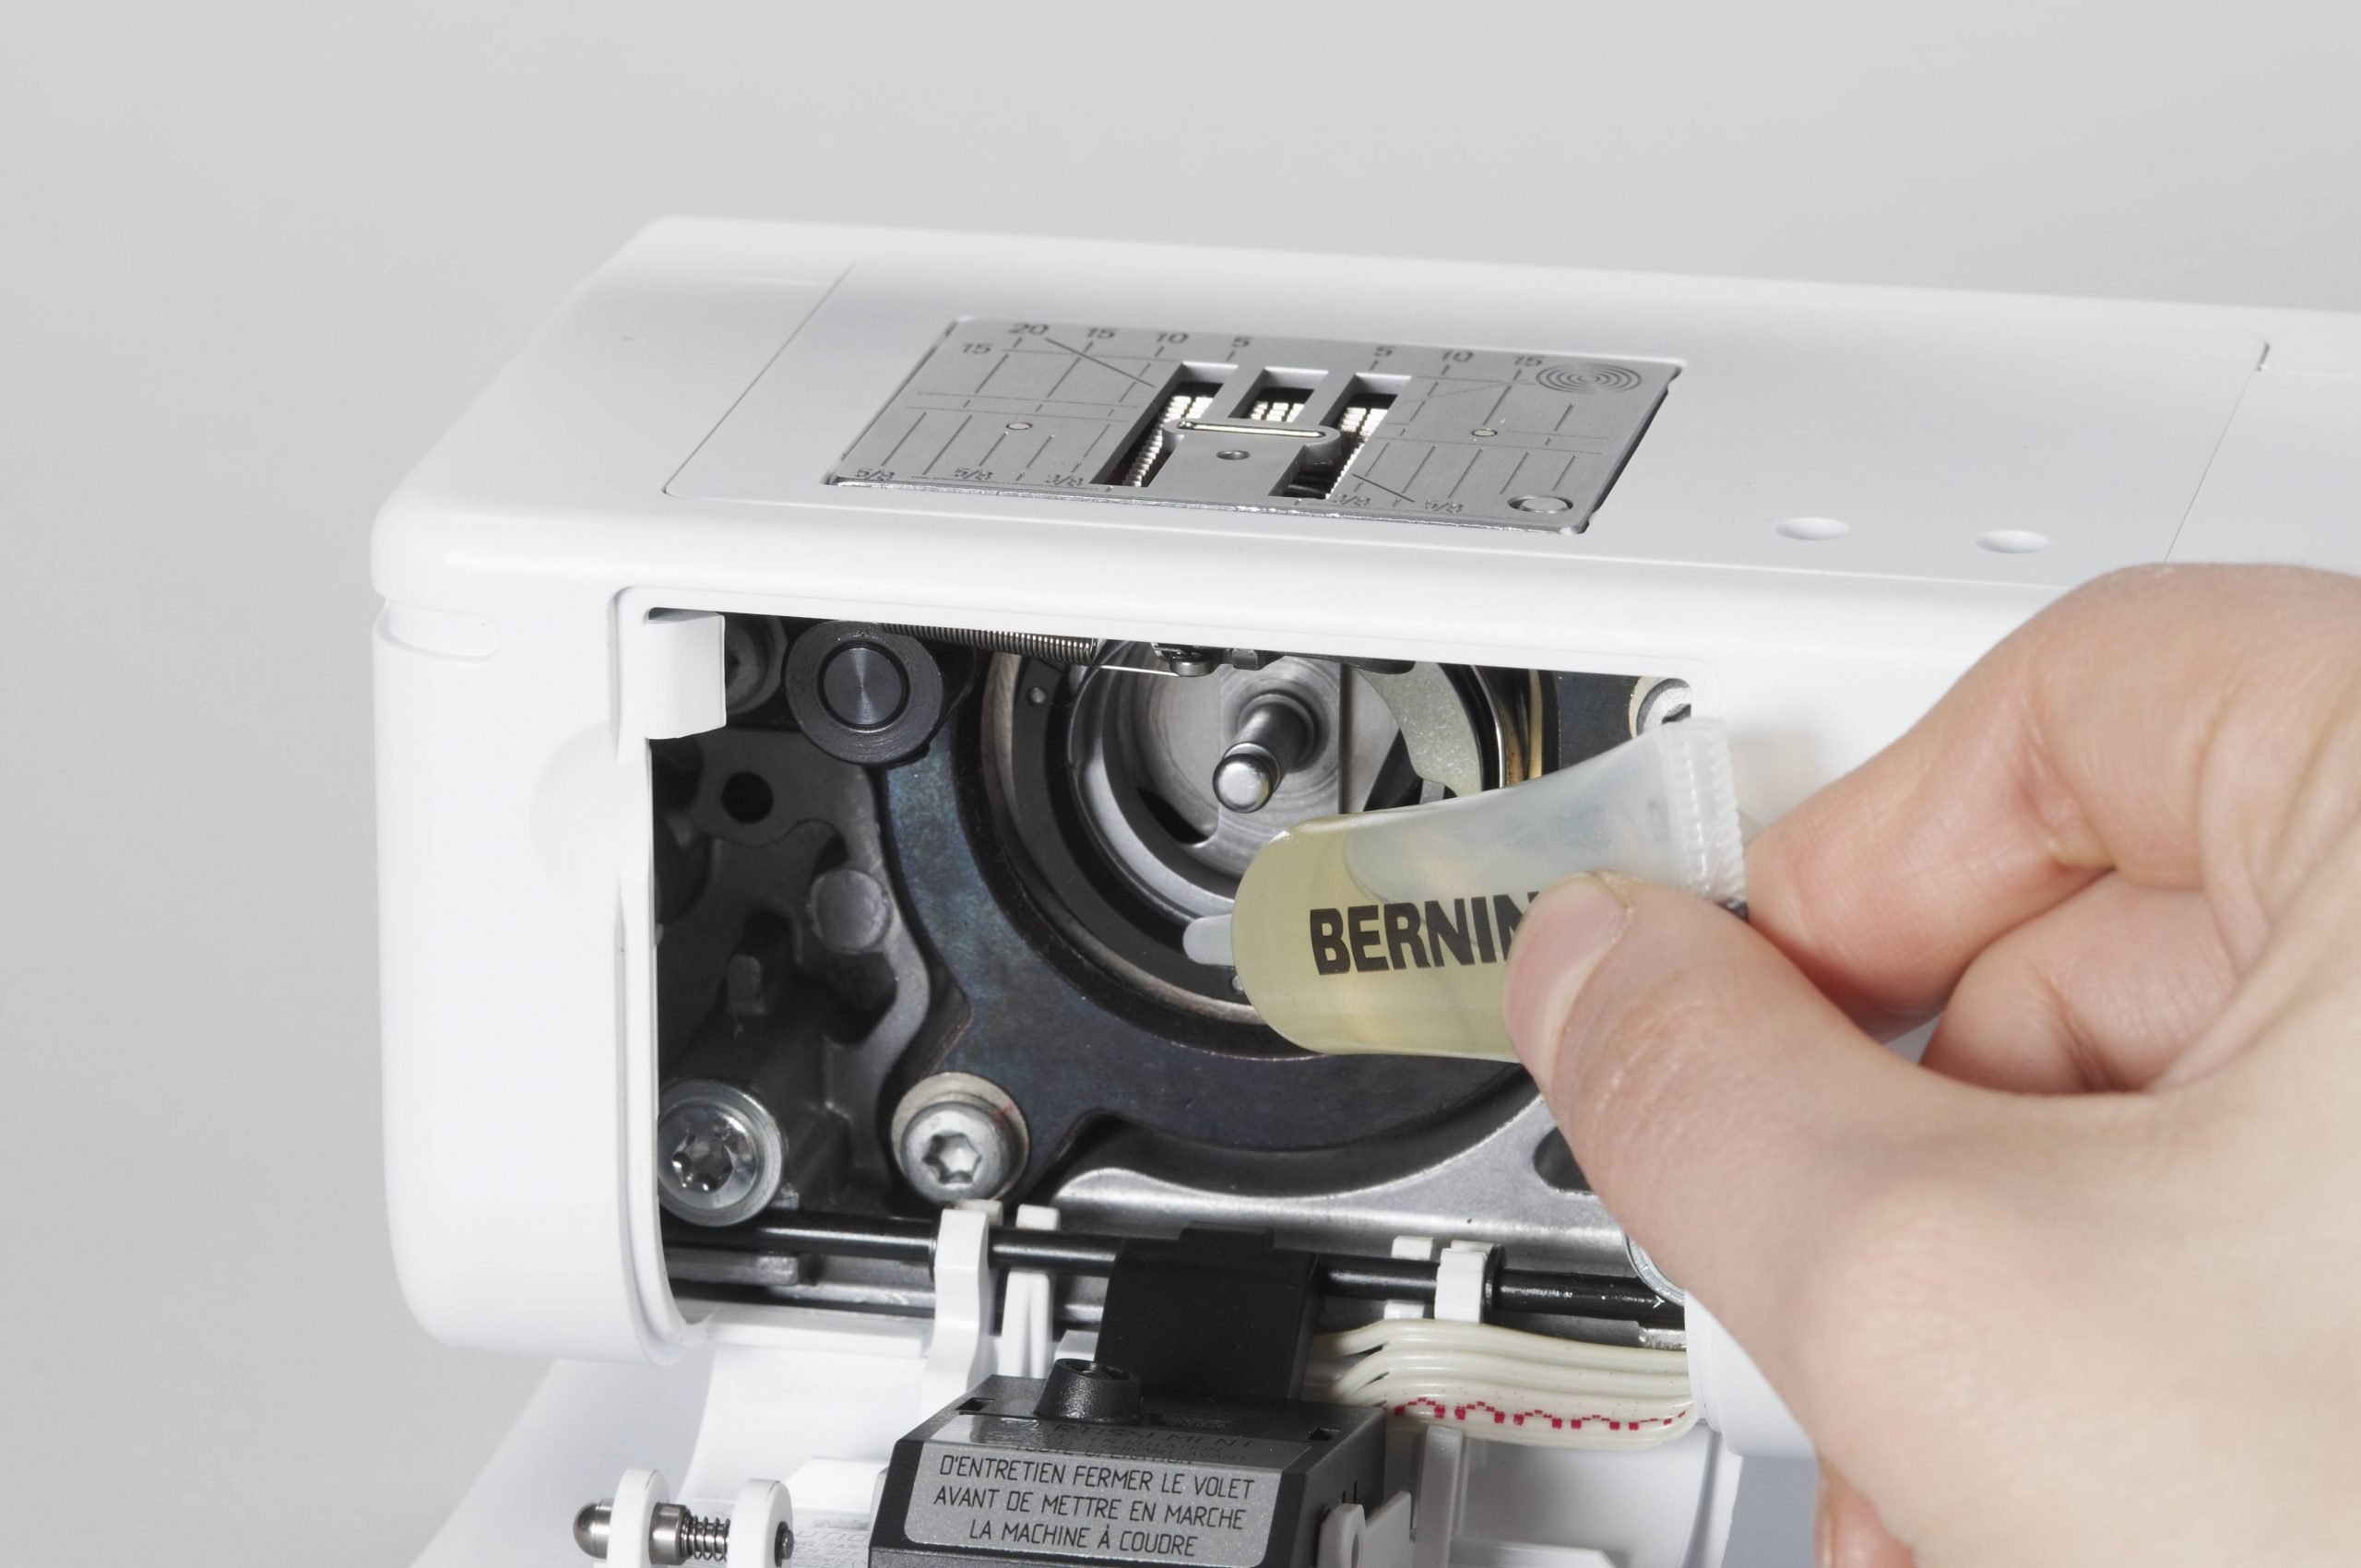
Identify Oiling Points: With the machine prepared, identify the designated oiling points indicated in the manual. These points typically include the shuttle hook, feed dogs, and other specified moving parts. Some machines may have sealed bearings that do not require oiling, so it's crucial to adhere to the manufacturer's recommendations.
-
Apply the Oil: Using the sewing machine oil recommended in the manual, apply a single drop of oil to each designated point. It's important to avoid over-oiling, as excess oil can attract lint and dirt, potentially causing damage to the machine. Take care to precisely target the oiling points and use a clean cloth to wipe away any excess oil.
-
Operate the Machine: After oiling, manually rotate the handwheel or follow the manual's instructions to run the machine at a slow speed. This allows the oil to distribute evenly and penetrate the moving parts. Running the machine without any fabric ensures that the oil is effectively distributed without staining the material.
-
Reassemble and Test: Once the oil has been distributed, reassemble the components following the manual's instructions. Insert a scrap piece of fabric and sew a few test stitches to ensure that the machine operates smoothly and quietly. Any unusual noises or resistance may indicate the need for further inspection or additional oiling.
-
Establish a Maintenance Schedule: To maintain the optimal performance of your sewing machine, establish a regular maintenance schedule that includes oiling as recommended by the manufacturer. This proactive approach ensures that your machine remains in top condition, ready to support your creative projects for years to come.
By following this step-by-step guide and adhering to the manufacturer's instructions, you can effectively oil your sewing machine, contributing to its longevity and reliable performance.
Tips for Maintaining Your Sewing Machine
Maintaining your sewing machine extends beyond the essential task of oiling. To ensure its longevity and consistent performance, incorporating additional maintenance practices is crucial. Here are valuable tips to uphold the optimal functionality of your sewing machine:
-
Regular Cleaning: In addition to oiling, regular cleaning of your sewing machine is paramount. Lint, dust, and stray threads can accumulate in various parts of the machine, potentially hindering its operation. Use a lint brush, soft cloth, or a handheld vacuum with a brush attachment to remove debris from the bobbin area, feed dogs, and other accessible components. This practice prevents build-up and ensures smooth sewing.
-
Needle and Thread Inspection: Periodically inspect the needle for any signs of wear or damage. A bent or dull needle can lead to stitching issues and fabric damage. Replace the needle as needed, following the manufacturer's recommendations. Additionally, ensure that the thread is correctly threaded and that the tension is adjusted according to the fabric being used.
-
Proper Storage: When not in use, store your sewing machine in a clean and dust-free environment. Cover it with a protective case or dust cover to shield it from environmental elements. This simple measure safeguards the machine from potential damage and reduces the frequency of thorough cleanings.
-
Professional Servicing: Consider scheduling professional servicing for your sewing machine, especially if you notice any irregularities in its performance. A trained technician can conduct thorough maintenance, including internal cleaning, lubrication, and adjustments to ensure the machine operates at its best.
-
Use High-Quality Materials: Opt for high-quality threads, needles, and fabrics when sewing. Substandard materials can leave residue in the machine, contributing to faster wear and potential malfunctions. Investing in quality materials not only enhances the sewing experience but also minimizes the impact on the machine.
-
Mindful Operation: Practice mindful sewing techniques to reduce strain on the machine. Avoid forcing fabric through the feed dogs, as this can lead to misalignment and potential damage. Additionally, refrain from abruptly starting or stopping the machine, as gentle handling prolongs its lifespan.
Incorporating these maintenance tips into your sewing routine ensures that your machine remains in optimal condition, ready to support your creative endeavors. By combining regular oiling with comprehensive maintenance practices, you can enjoy the reliability and longevity of your sewing machine for years to come.
Conclusion
In conclusion, properly oiling your sewing machine is a fundamental aspect of its maintenance that significantly contributes to its longevity, efficiency, and overall performance. By understanding the importance of regular oiling and following a systematic approach, you can ensure that your sewing machine remains a reliable tool for your creative pursuits.
The significance of oiling your sewing machine lies in its ability to reduce friction, prevent rust and corrosion, minimize noise, enhance stitch quality, and ultimately extend the machine's lifespan. These benefits underscore the essential role that proper lubrication plays in preserving the functionality and durability of your sewing machine.
By adhering to a step-by-step guide for oiling, which includes referencing the owner's manual, preparing the machine, identifying oiling points, applying the oil, and conducting a test run, you can effectively maintain your sewing machine with precision and care. Additionally, establishing a regular maintenance schedule, including cleaning, needle and thread inspection, proper storage, professional servicing, and mindful operation, further contributes to the optimal functionality of your machine.
Incorporating these maintenance practices into your sewing routine not only ensures the longevity of your machine but also enhances the quality of your sewing projects. Whether you are a dedicated seamstress, a quilting enthusiast, or a crafting hobbyist, a well-maintained sewing machine empowers you to pursue your creative endeavors with confidence and efficiency.
As you embark on your sewing journey, remember that the care and attention you invest in maintaining your sewing machine directly impact its performance and durability. By prioritizing regular oiling and comprehensive maintenance, you can enjoy uninterrupted sewing sessions, consistent stitch quality, and the peace of mind that comes with a well-preserved machine.
In essence, the simple act of oiling your sewing machine is a testament to your commitment to its care and longevity. With each drop of oil, you contribute to the smooth operation and enduring functionality of a valuable tool that supports your passion for sewing and crafting. Embrace the maintenance process as a reflection of your dedication to your craft, and let your well-oiled sewing machine be the reliable companion on your creative journey.