Home>Create & Decorate>DIY & Crafts>Essential Sewing Machine Maintenance Tips For Spring
DIY & Crafts
Essential Sewing Machine Maintenance Tips For Spring
Published: February 15, 2024

Content Creator specializing in woodworking and interior transformations. Caegan's guides motivate readers to undertake their own projects, while his custom furniture adds a personal touch.
Keep your sewing machine in top shape this spring with these essential maintenance tips. Perfect for DIY & Crafts enthusiasts.
(Many of the links in this article redirect to a specific reviewed product. Your purchase of these products through affiliate links helps to generate commission for Twigandthistle.com, at no extra cost. Learn more)
Introduction
As the vibrant colors of spring emerge and the air fills with the sweet scent of blossoming flowers, it's the perfect time to give your trusty sewing machine some much-needed attention. Just like any other mechanical device, sewing machines require regular maintenance to ensure they continue to operate smoothly and produce impeccable stitches. Whether you're a seasoned seamstress or a novice crafter, taking the time to perform essential maintenance on your sewing machine can prolong its lifespan and keep your sewing projects running seamlessly.
In this comprehensive guide, we'll delve into the crucial steps for maintaining your sewing machine during the spring season. From cleaning and oiling the machine to inspecting and adjusting key components, we'll cover everything you need to know to keep your sewing machine in top-notch condition. By following these maintenance tips, you can prevent frustrating malfunctions and enjoy uninterrupted sewing sessions, allowing your creativity to flourish as you bring your DIY and crafting projects to life.
So, roll up your sleeves, gather your supplies, and let's embark on a journey to ensure that your sewing machine is primed and ready to tackle the upcoming spring sewing projects. Let's dive into the essential sewing machine maintenance tips that will help you breeze through your creative endeavors with ease and precision.
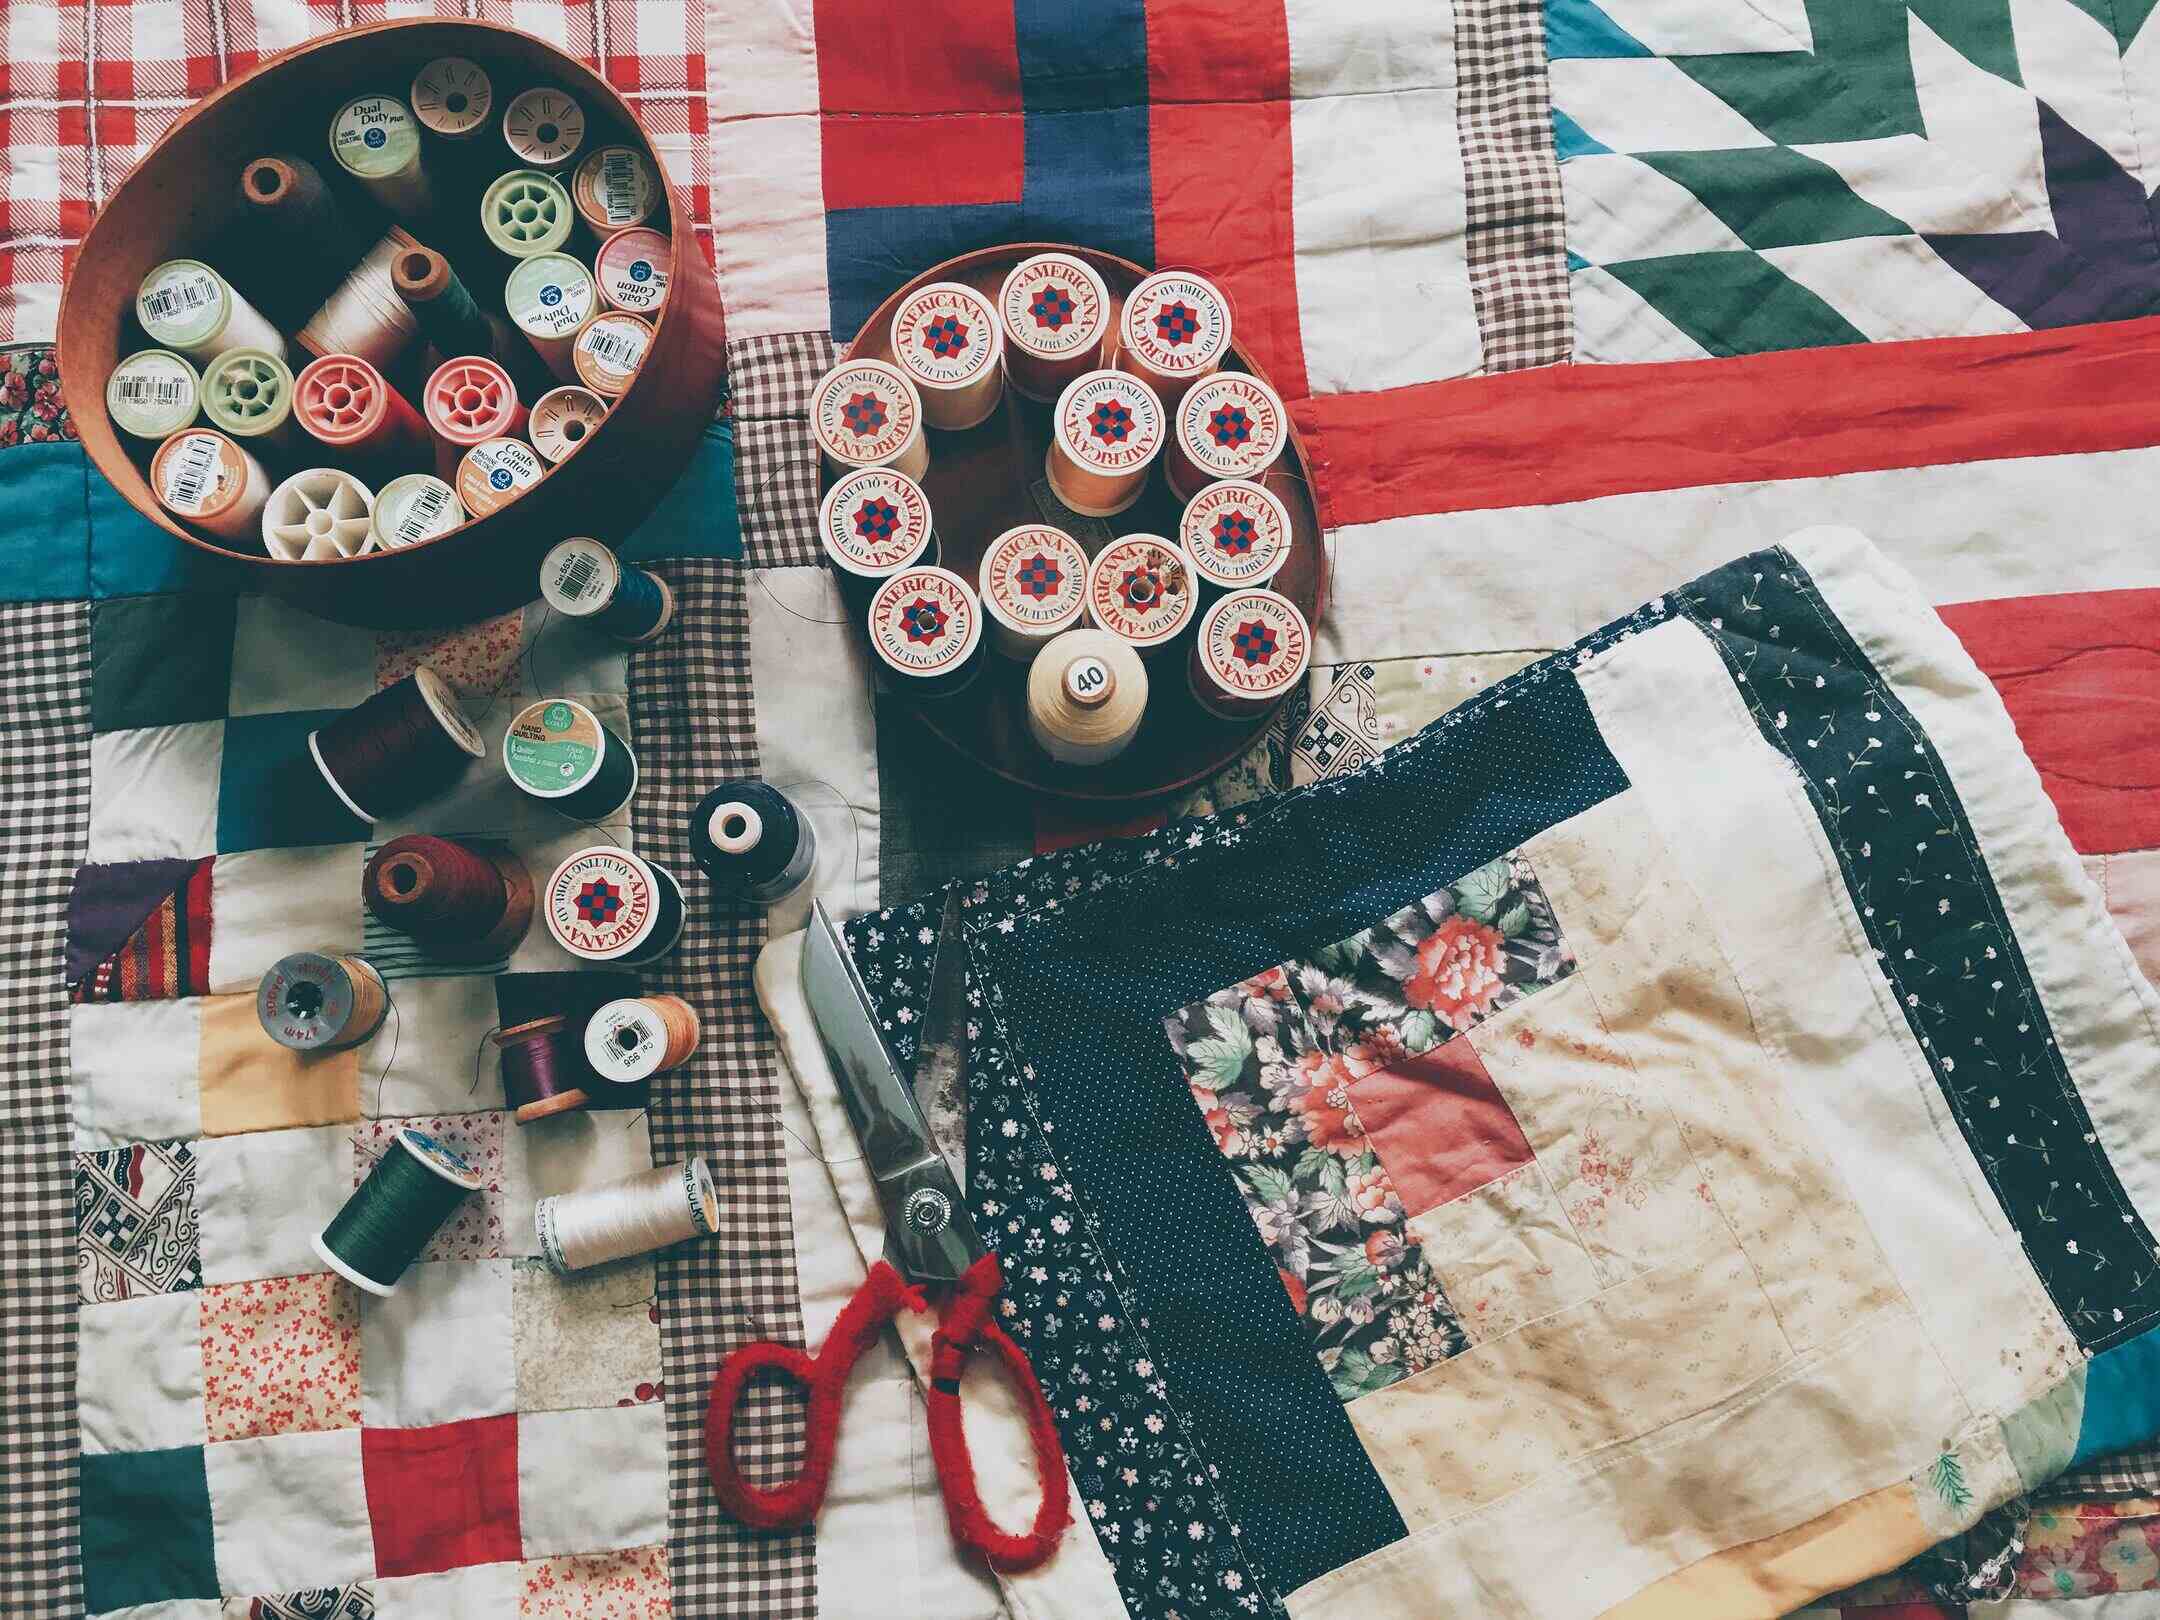
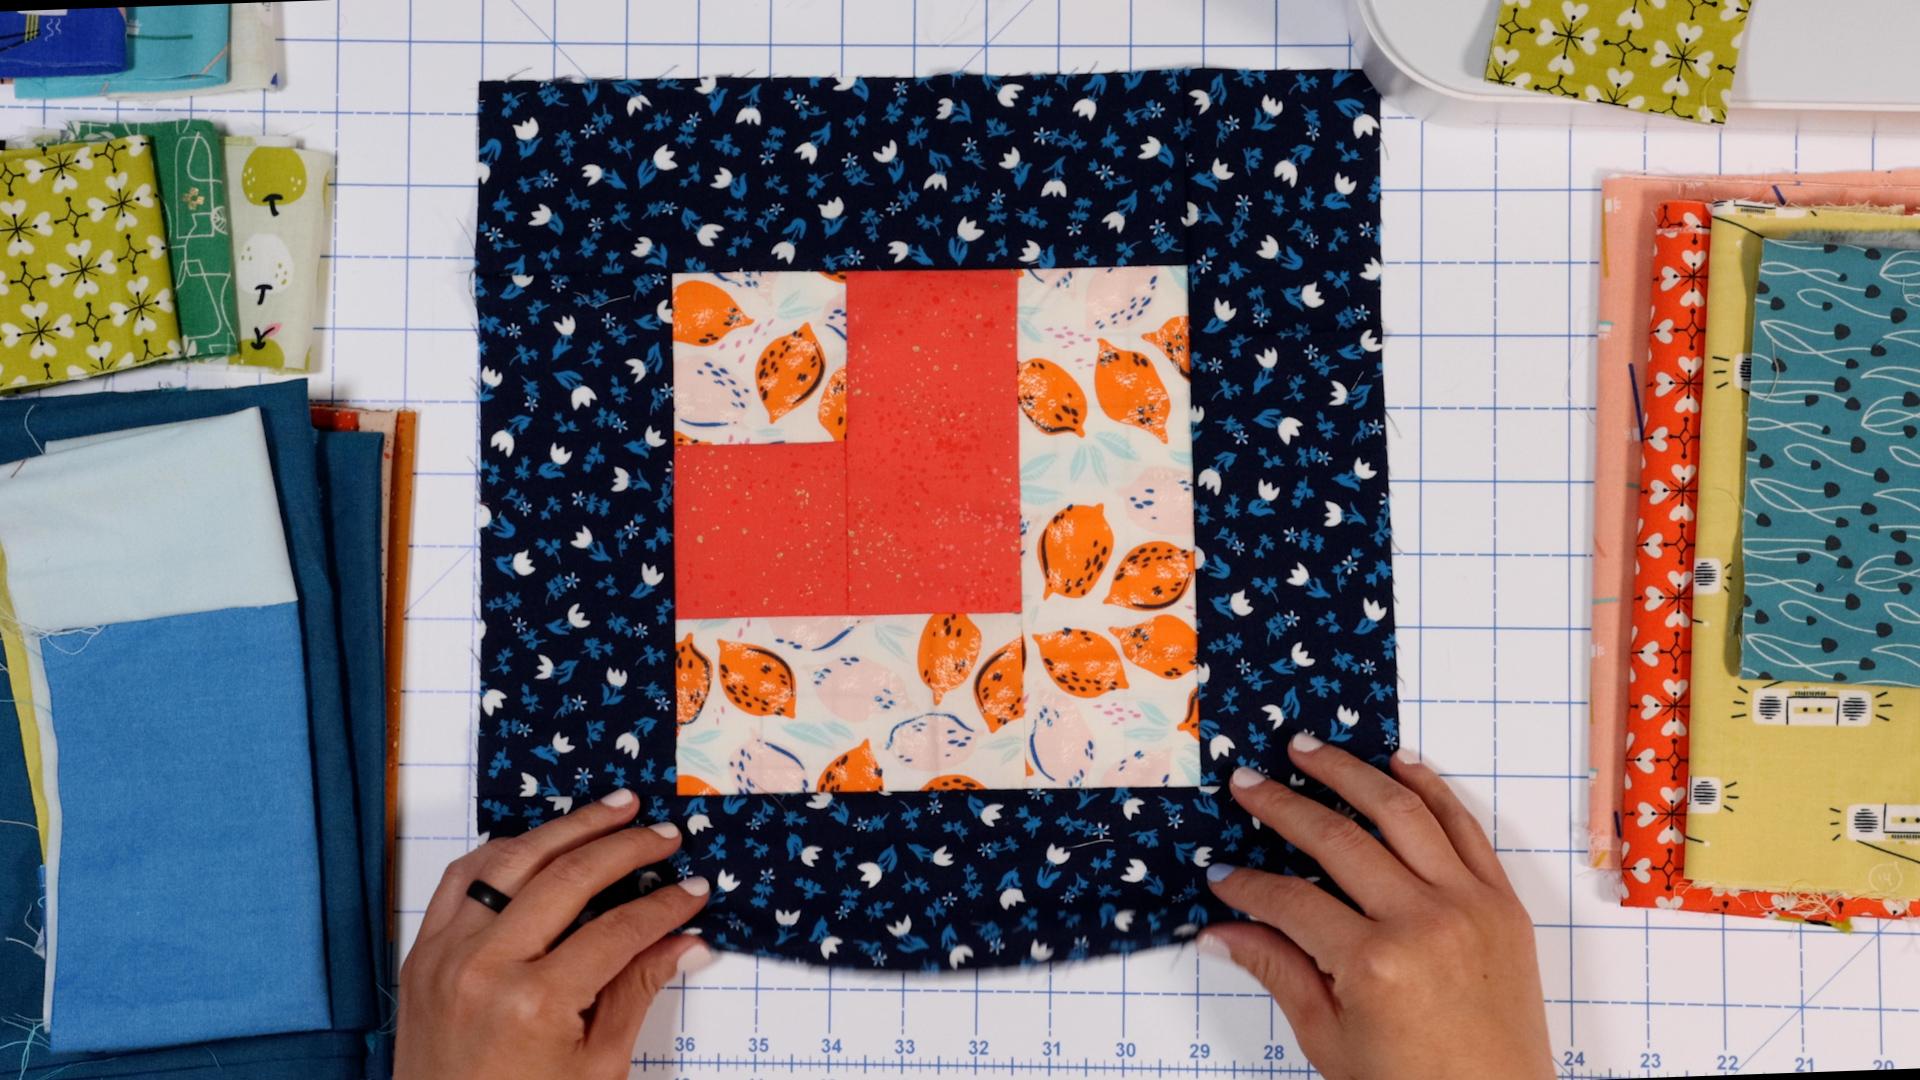
Clean and Oil Your Machine
Spring is the perfect time to show your sewing machine some love by giving it a thorough cleaning and a well-deserved oiling. Over time, dust, lint, and stray threads can accumulate in the nooks and crannies of your machine, potentially causing it to operate less efficiently. To begin the maintenance process, start by unplugging your machine and removing the needle, presser foot, and bobbin. Use a small brush or a lint roller to gently remove any visible debris from the exterior and interior of the machine. Pay close attention to the feed dogs, tension discs, and bobbin area, as these are common hotspots for lint buildup.
Once the machine is free of debris, it's time to oil its moving parts. Consult your sewing machine manual to identify the specific points that require oiling, as this can vary depending on the model. Using high-quality sewing machine oil, apply a drop or two to the designated oiling points, such as the shuttle hook, bearings, and other moving components. Be mindful not to over-oil, as excess oil can attract more lint and dirt, leading to potential issues down the line. After oiling, manually rotate the handwheel to help distribute the oil evenly and ensure smooth operation.
Regularly cleaning and oiling your sewing machine not only keeps it running smoothly but also helps prevent premature wear and tear on its mechanical parts. By dedicating time to this essential maintenance task, you can enjoy a well-functioning sewing machine that's primed for all your spring sewing endeavors.
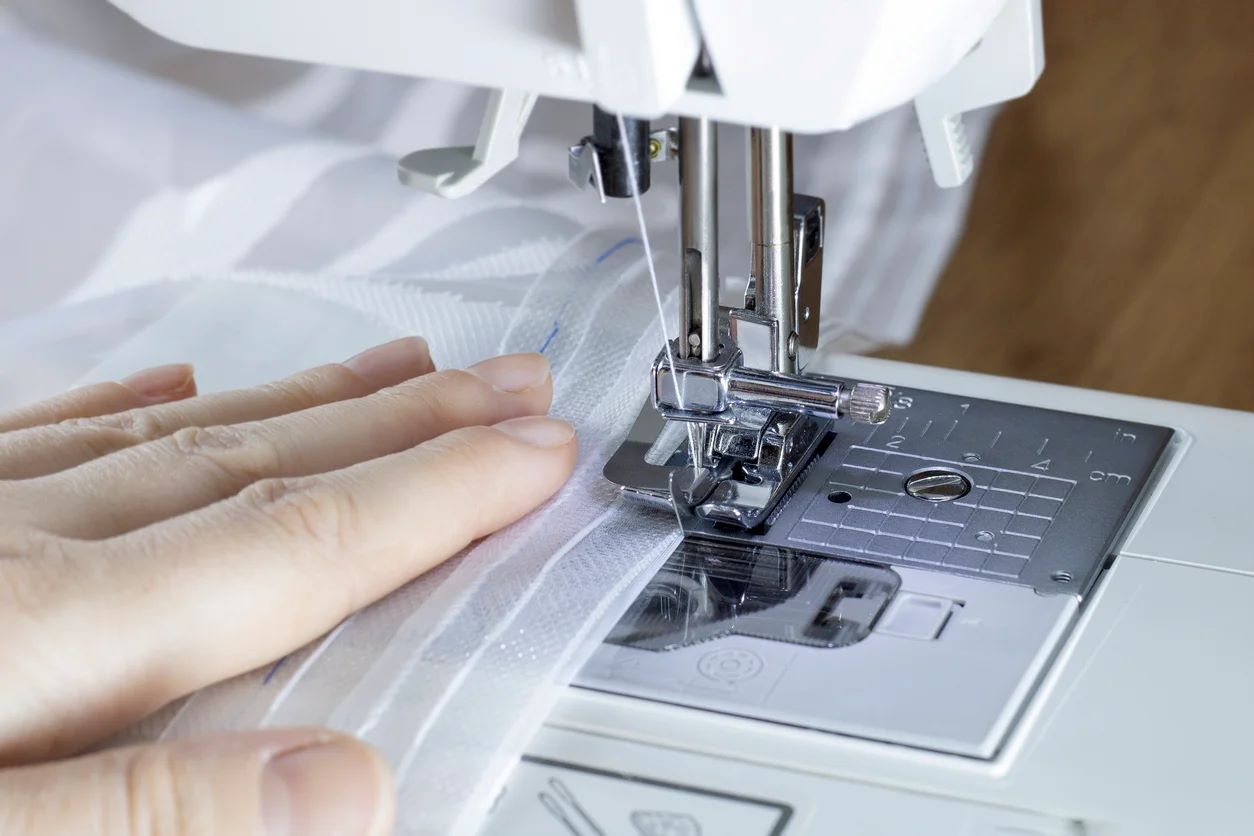
Check and Replace Needles
One of the most crucial yet often overlooked aspects of sewing machine maintenance is the regular inspection and replacement of needles. As spring breathes new life into your crafting ambitions, ensuring that your sewing machine is equipped with a sharp and suitable needle is paramount for achieving flawless stitches and preventing potential fabric damage.
Begin by examining the current needle for any signs of wear, such as bent or blunt tips, visible rust, or burrs. Even if the needle appears to be in good condition, it's advisable to replace it every 8-10 hours of sewing, as needles gradually dull with use. Additionally, when switching to a new type of fabric or thread, it's essential to select a needle that complements the specific material and thread weight to achieve optimal results.
When replacing the needle, ensure that it is compatible with your sewing machine model and is inserted correctly according to the manufacturer's guidelines. Needles come in various types and sizes, each designed for specific fabrics and sewing techniques. For instance, universal needles are versatile and suitable for a wide range of fabrics, while ballpoint needles are ideal for knit fabrics, and denim needles are tailored for heavyweight materials like denim and canvas.
By routinely checking and replacing needles, you can uphold the quality of your sewing projects and prevent frustrating issues such as skipped stitches, fabric puckering, or thread breakage. Embracing this simple yet impactful maintenance practice will empower you to embark on your spring sewing ventures with confidence, knowing that your sewing machine is equipped with a sharp and appropriate needle to bring your creative visions to life.
Remember, a well-maintained needle is the unsung hero behind every immaculate stitch, and by prioritizing this often underestimated component, you can elevate the quality of your sewing endeavors and revel in the joy of crafting with precision and finesse.
Inspect and Clean Bobbin Area
The bobbin area of a sewing machine is a critical component that plays a pivotal role in producing impeccable stitches and ensuring the overall functionality of the machine. As spring breathes new life into your crafting aspirations, taking the time to inspect and clean the bobbin area can significantly contribute to the seamless operation of your sewing machine.
To commence the inspection process, start by removing the bobbin case and bobbin from the machine. Examine the bobbin case for any accumulated lint, stray threads, or residual buildup that may hinder its smooth movement. Lint and debris tend to find their way into the bobbin area during the sewing process, potentially causing tension issues, erratic stitches, or even machine jams. Therefore, meticulously clearing any obstructions from the bobbin case is essential for maintaining the optimal performance of your sewing machine.
Next, shift your focus to the bobbin itself. Inspect it for any signs of damage, such as nicks, scratches, or rough edges, which can adversely affect the quality of the stitches. Additionally, ensure that the bobbin is clean and free from lint, as any debris trapped within the bobbin can disrupt the thread tension and lead to irregular stitching.
Once the inspection is complete, it's time to embark on the cleaning process. Utilize a small brush, such as a lint brush or a soft-bristled paintbrush, to gently remove any accumulated lint and debris from the bobbin case and surrounding areas. Take care to clear the nooks and crevices thoroughly, as these are common spots where lint tends to accumulate.
For stubborn lint or hard-to-reach areas, compressed air can be employed to dislodge and remove the debris effectively. However, exercise caution when using compressed air to avoid blowing the debris further into the machine. Additionally, a lint roller or a piece of tape wrapped around your fingers can be used to lift any remaining lint from the bobbin area, ensuring a meticulous cleaning process.
By diligently inspecting and cleaning the bobbin area, you can safeguard your sewing machine against potential issues stemming from lint buildup and debris accumulation. This proactive maintenance approach not only promotes smooth and consistent stitching but also prolongs the longevity of your machine, allowing you to embark on your spring sewing projects with confidence and precision.
Adjust Tension
The tension control of a sewing machine is a critical element that directly influences the quality and appearance of stitches. As spring breathes new life into your crafting endeavors, ensuring that the tension is appropriately adjusted is paramount for achieving impeccable and professional-looking seams.
To begin the tension adjustment process, it's essential to understand the role of tension in sewing. The tension discs within the machine regulate the tautness of the upper and lower threads, ensuring that they intertwine seamlessly within the fabric layers. Improper tension settings can result in unsightly loops, puckered fabric, or thread breakage, undermining the overall quality of your sewing projects.
Start by referring to your sewing machine manual to familiarize yourself with the tension adjustment mechanism specific to your model. Most machines feature a tension dial or knob that allows you to fine-tune the tension settings. It's advisable to conduct a test stitch on a scrap piece of fabric to assess the current tension and determine if any adjustments are necessary.
When adjusting the tension, it's crucial to strike a balance between the upper and lower thread tensions to achieve harmonious and balanced stitches. If the stitches appear loose or loopy on the fabric's underside, the upper thread tension may be too low. Conversely, if the upper thread is visibly pulling through to the underside of the fabric, the tension may be too high.
Make incremental adjustments to the tension settings, turning the tension dial or knob slightly and retesting the stitches after each modification. Take note of the changes in stitch appearance and continue fine-tuning the tension until the upper and lower threads intertwine smoothly within the fabric layers, resulting in neat and uniform stitches.
It's important to exercise patience and attentiveness during the tension adjustment process, as subtle modifications can yield significant improvements in stitch quality. By mastering the art of tension adjustment, you can elevate the professional finish of your sewing projects and imbue them with a refined and polished aesthetic.
As you embark on your spring sewing endeavors, the ability to adeptly adjust the tension of your sewing machine empowers you to tackle a diverse range of fabrics and sewing techniques with confidence and precision. Embrace the art of tension control as a fundamental aspect of your sewing repertoire, and witness the transformative impact it has on the quality and visual appeal of your creations.
Check and Clean Feed Dogs
The feed dogs of a sewing machine play a pivotal role in guiding the fabric through the machine during the stitching process. As spring breathes new life into your crafting aspirations, it's essential to prioritize the inspection and cleaning of the feed dogs to ensure the seamless and precise movement of fabric layers, ultimately contributing to the impeccable quality of your sewing projects.
To commence the maintenance process, begin by lowering the feed dogs, following the guidelines outlined in your sewing machine manual. Once the feed dogs are accessible, carefully inspect them for any accumulated lint, stray threads, or residual buildup that may impede their smooth movement. Over time, debris can become lodged between the teeth of the feed dogs, hindering their ability to grip and advance the fabric uniformly.
Utilize a small brush, such as a lint brush or a soft-bristled paintbrush, to meticulously clear any obstructions from the feed dogs. Pay close attention to the spaces between the teeth, ensuring that all traces of lint and debris are effectively removed. Additionally, a lint roller or a piece of tape wrapped around your fingers can be employed to lift any remaining lint from the feed dogs, promoting a thorough cleaning process.
For stubborn debris or hard-to-reach areas, compressed air can be utilized to dislodge and remove the obstructions effectively. However, exercise caution when using compressed air to avoid blowing the debris further into the machine. By diligently cleaning the feed dogs, you can uphold their optimal functionality and ensure that they facilitate the smooth and consistent movement of fabric layers during the sewing process.
Regularly checking and cleaning the feed dogs of your sewing machine not only promotes precise fabric feeding but also contributes to the overall stitch quality and prevents potential issues such as fabric slippage or uneven stitching. By embracing this essential maintenance practice, you can embark on your spring sewing projects with the confidence that your sewing machine is primed to deliver impeccable and uniform stitches, allowing your creative visions to flourish with finesse and precision.
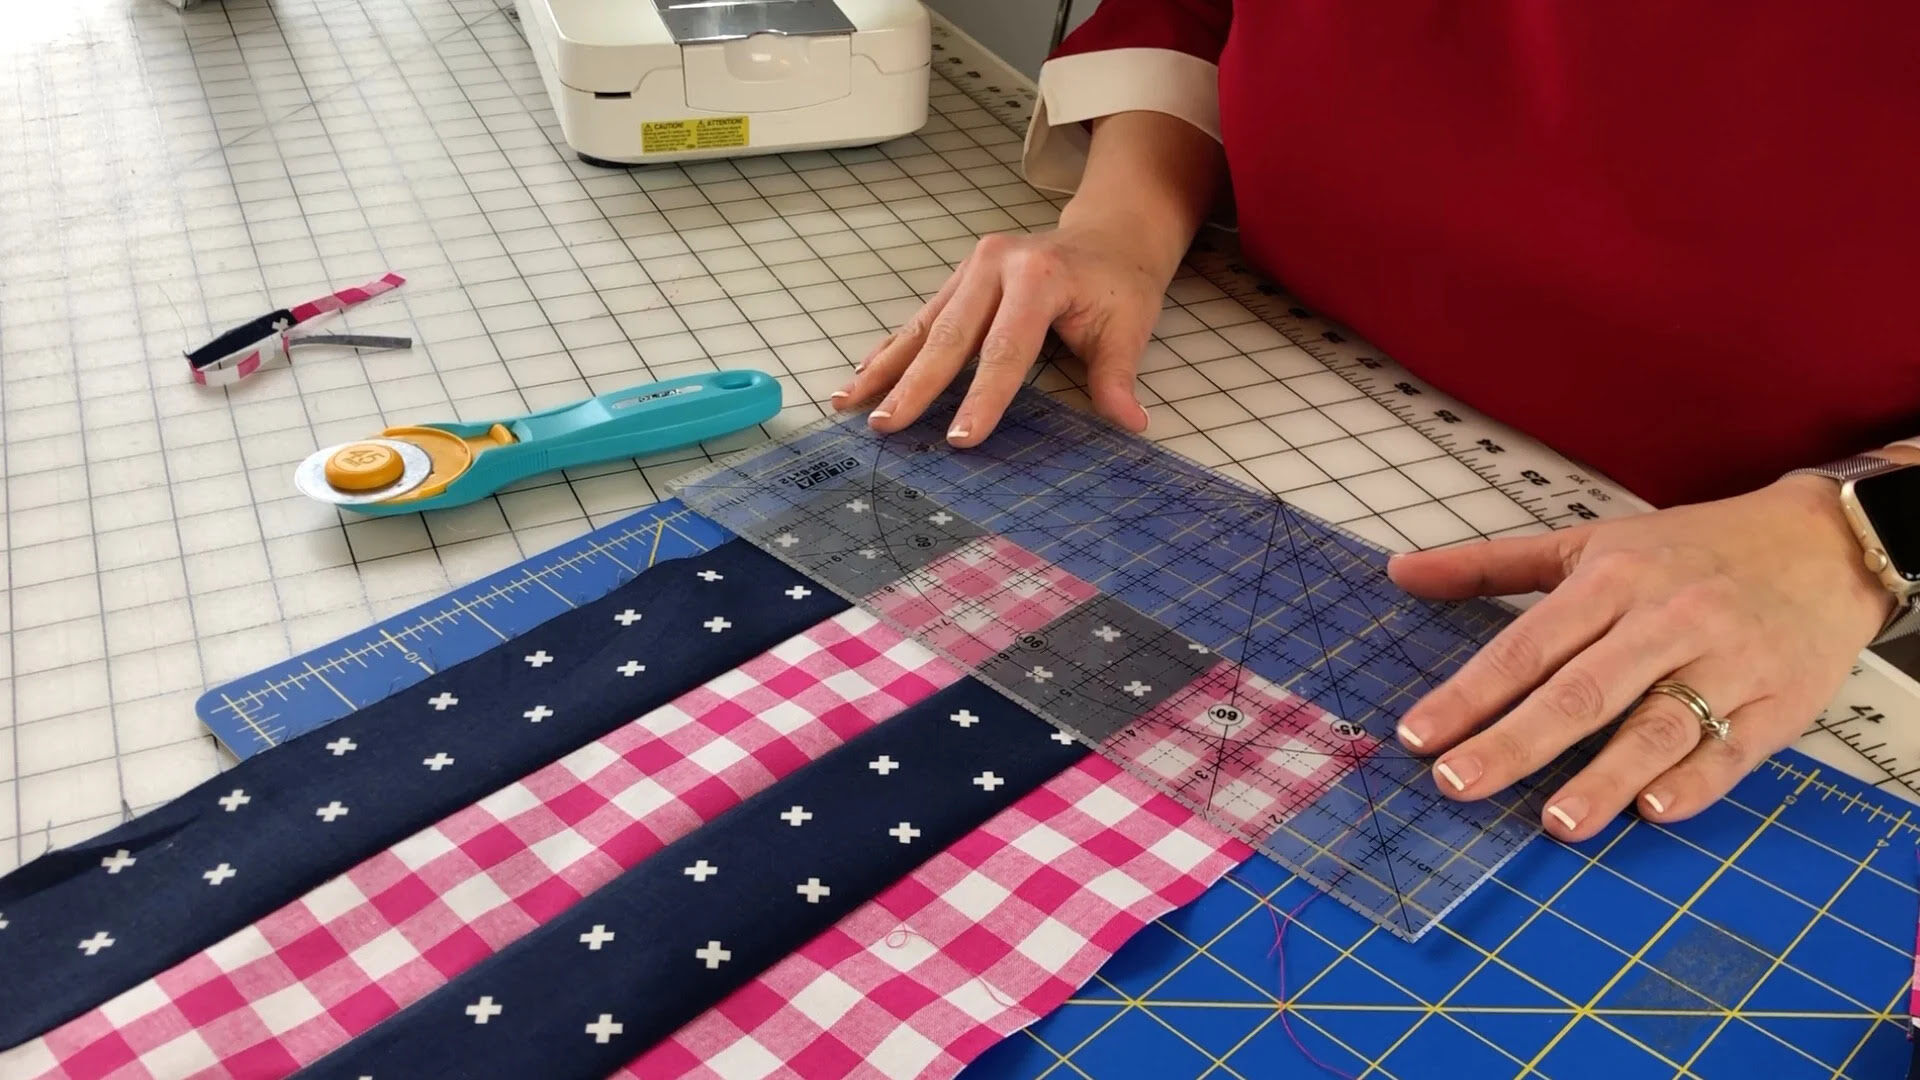
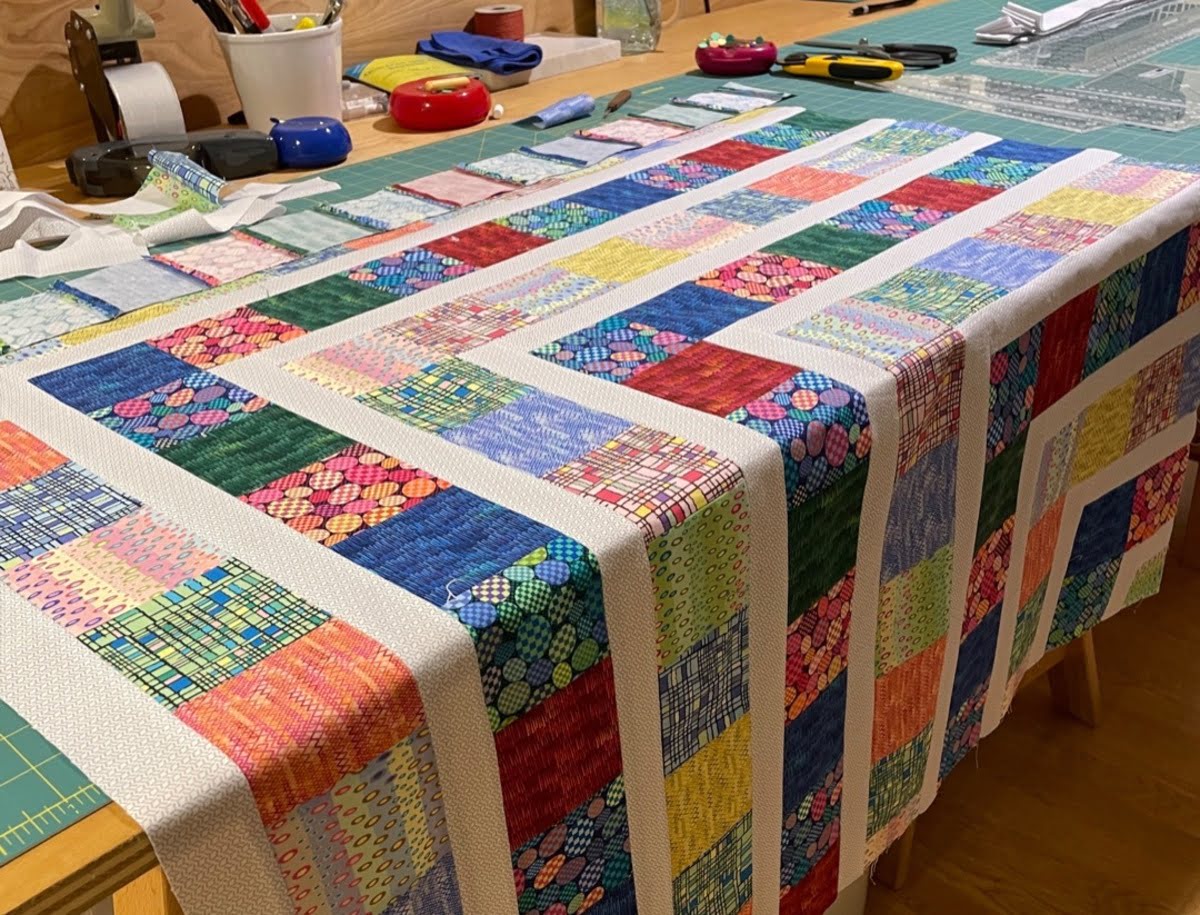
Test Stitches and Tension
Once you have completed the essential maintenance tasks for your sewing machine, it's crucial to conduct a thorough evaluation of the stitches and tension to ensure that your machine is primed for flawless sewing during the spring season. Testing the stitches and tension serves as the final checkpoint in the maintenance process, allowing you to fine-tune the settings and address any potential issues before embarking on your creative sewing projects.
To commence the evaluation, select a scrap piece of fabric that closely resembles the material you intend to sew for your upcoming projects. By using a fabric sample that mirrors the characteristics of your intended sewing materials, you can accurately assess the stitch quality and tension adjustments in a real-world context.
Begin by threading the machine with the desired thread and inserting a new needle suitable for the fabric type. Ensure that the bobbin is properly wound and inserted according to the manufacturer's guidelines. Once the machine is threaded and prepared, proceed to sew a test seam on the fabric sample, incorporating various stitch lengths and types to evaluate the machine's performance comprehensively.
As you sew, pay close attention to the appearance of the stitches on both the top and bottom sides of the fabric. Ideally, the stitches should exhibit uniformity, with no visible tension discrepancies or irregularities. Inspect the seam for any signs of looping, loose stitches, or thread breakage, as these indicators can signify underlying tension issues that require adjustment.
After sewing the test seam, evaluate the fabric's drape and texture to ensure that the stitches have securely penetrated the layers without causing puckering or distortion. Additionally, assess the sound and movement of the machine during the stitching process, as smooth and consistent operation indicates that the machine is functioning optimally.
If any irregularities or tension issues are observed during the test stitching, it's essential to make incremental tension adjustments and retest the stitches until the desired stitch quality is achieved. Fine-tuning the tension settings based on the test results ensures that your sewing machine is calibrated to deliver impeccable stitches on a diverse range of fabrics, empowering you to embark on your spring sewing projects with confidence and precision.
By meticulously testing the stitches and tension, you can identify and address any potential issues before commencing your sewing endeavors, ultimately setting the stage for a seamless and gratifying creative experience. Embrace this final step in the maintenance process as a proactive measure to optimize your sewing machine's performance, allowing your creativity to flourish without hindrance.
Conclusion
As we bid adieu to the winter chill and embrace the rejuvenating spirit of spring, our sewing machines stand poised to embark on a new season of creative endeavors. Through the diligent application of essential maintenance tips, we have fortified our sewing machines to seamlessly weave our imaginative visions into tangible works of art. From cleaning and oiling the intricate mechanisms to fine-tuning tension settings and inspecting critical components, our commitment to nurturing our sewing machines ensures that they stand ready to elevate our crafting experiences.
The act of maintaining our sewing machines transcends mere mechanical upkeep; it symbolizes our dedication to preserving the artistry and precision that define our creative pursuits. By investing time and care into the maintenance process, we honor the legacy of craftsmanship and ingenuity that has been woven into the fabric of our lives. As we prepare to embark on our spring sewing projects, our well-maintained sewing machines serve as steadfast companions, poised to bring our creative aspirations to fruition with finesse and reliability.
With each meticulously cleaned bobbin area, each precisely adjusted tension setting, and each thorough inspection of the feed dogs, we have reaffirmed our commitment to excellence in our craft. The symphony of moving parts within our sewing machines now harmonizes with the promise of spring, resonating with the potential to transform ordinary fabrics into extraordinary creations. As we thread our needles and guide our fabrics under the presser foot, we do so with the confidence that our sewing machines are primed to support our artistic endeavors with unwavering precision and grace.
In the realm of DIY and crafts, our sewing machines stand as the steadfast companions of our creative journeys, faithfully translating our visions into tangible expressions of artistry. Through the act of maintenance, we have nurtured this symbiotic relationship, fostering an environment where creativity and technical prowess converge to yield remarkable results. As we revel in the vibrant energy of spring, our sewing machines stand as beacons of inspiration, ready to accompany us on a season of boundless creativity and fulfillment.
In essence, the culmination of our sewing machine maintenance endeavors signifies more than just the optimization of mechanical functionality; it embodies a celebration of craftsmanship, creativity, and the enduring spirit of innovation. With our sewing machines primed and poised for the season ahead, we stand ready to weave a tapestry of creativity, ingenuity, and boundless imagination, empowered by the unwavering support of our meticulously maintained companions.